Ford Explorer Rear Brakes - Completing
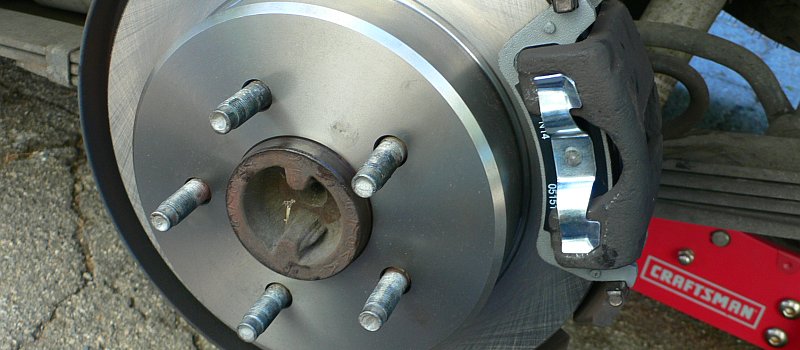
Now time to start getting things back together. Cleaning up the caliper pin slides, checking the rubber boot and related components and then install the brake pads and reinstalling all the goodies. Make sure after you handle the greasy and dirty parts to clean your hands or change your gloves. Clean the new rotor with brake or carb cleaner and keep things grease free. Again, checking things twice and torque to proper values and you are good to go.
Important - It's a good idea to test the brakes before going on a high speed chase or that sort of thing. Be safe don't be sorry I always say.
Install Inner Pad in Caliper
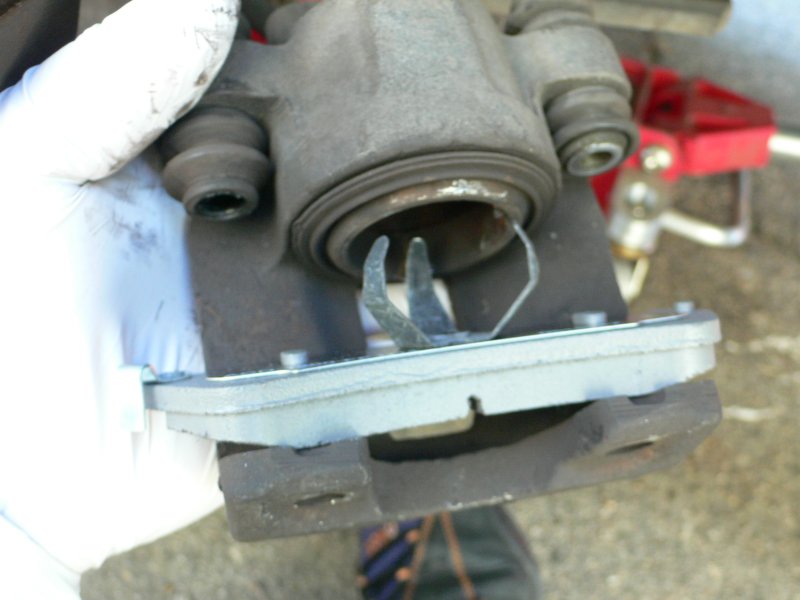
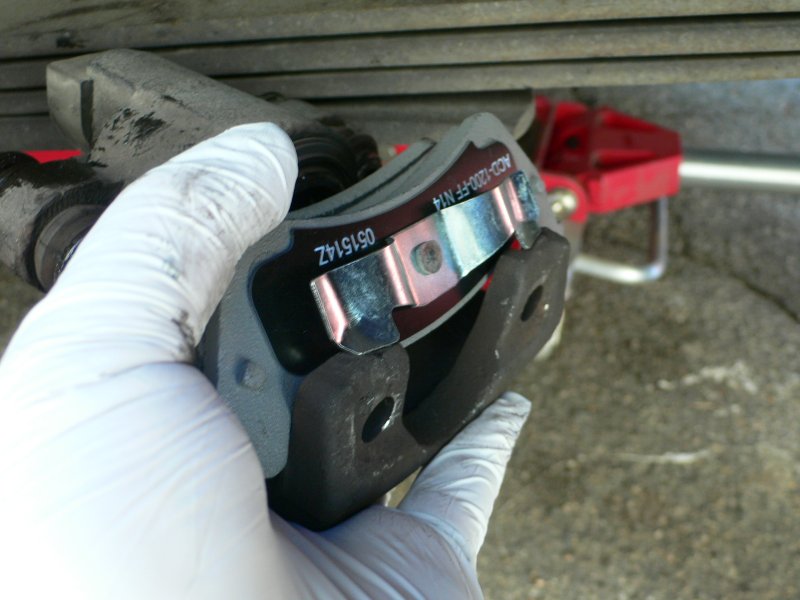
The pad installation is easy, FIRST install the inner pad. Just press the 3 finger spring clip into the back of the caliper. Make sure you have the matching outer pad. The Inner and Outer pads MUST have the same 'Ear' style on both sides of the caliper. Once the inner pad is pressed into the piston (make sure all 3 fingers are INSIDE and not bent) reverse the procedure of removing the outer pad. I usually change out gloves prior to this after dealing with grease etc.
Supporting the Caliper
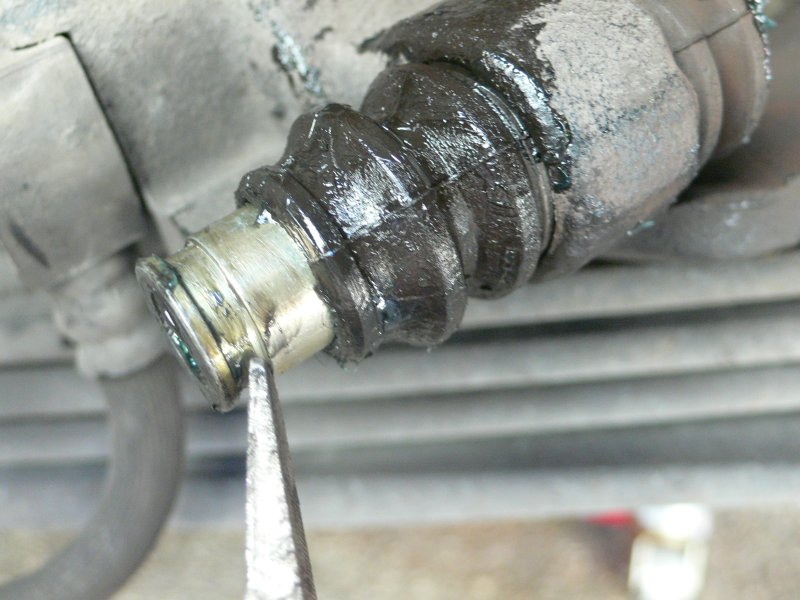
If you do pull out the slides for the floating caliper, you should ensure they are slide free and are not all rusted up. I usually pull them and re-lube them with Permatex Ultra Disc Brake Lube. If you have rusted or sticking pins this can lead to odd pulling and bad braking which you can also see by one side of the pad wearing out much faster then the other. Wipe all external grease off, and be careful in putting the pins back on the boots. The grove is what the ends of the boot must sit in. Again if you crack a boot, time for a new set and a trip to the auto parts store.
Caliper Bolts and Install the Caliper
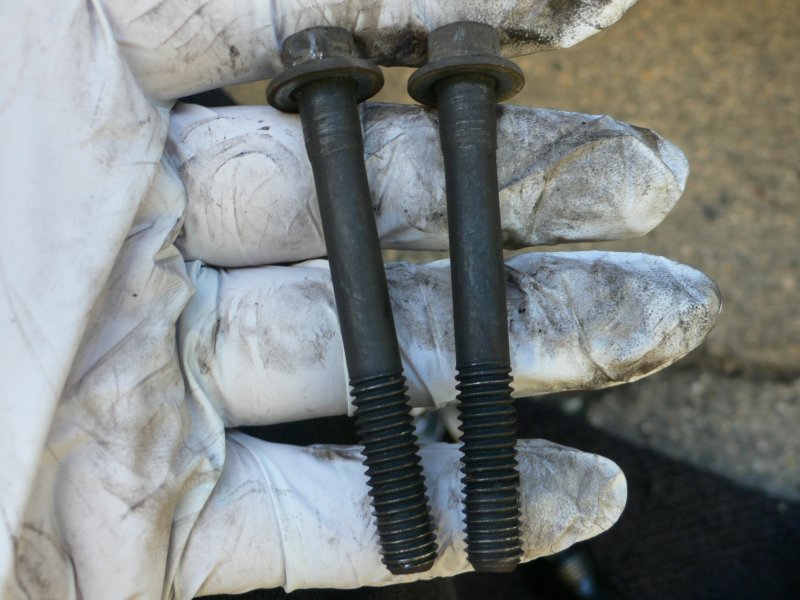
Inspect the bolts for bad threads, corrosion, rust etc. Mine were very clean. Time to reinstall the caliper and bolts. Make sure the hose is not kinked or twisted in a different direction. The caliper will slide back onto the rotor with little force. If too much you are doing something wrong. The edges of most brakes are chamfered to help get it started. Note the side of the caliper with the 'Ear' that has a top and bottom must go on to the axle bracket first, then the side with the missing 'Ear' can slid down until fully installed. You may have to move things around a bit to get the bolt holes to align. Get one bolt in first and the other will follow.
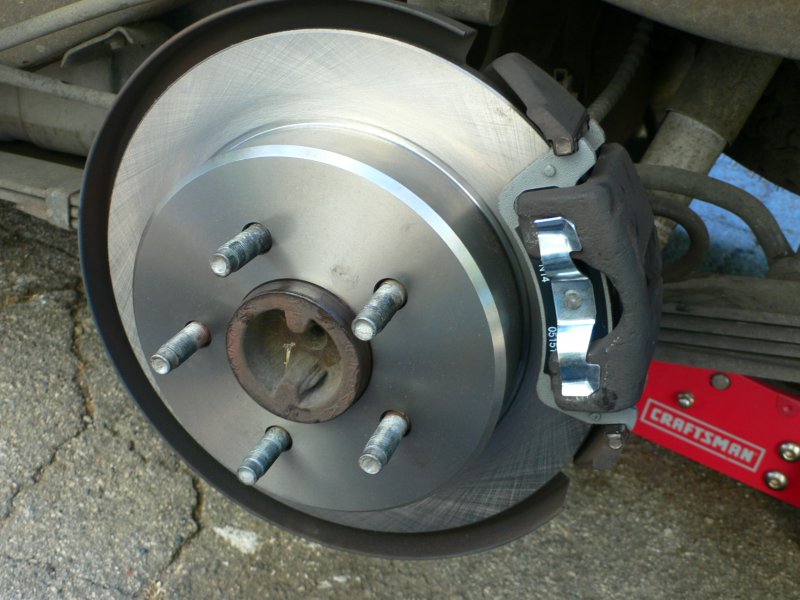
Explorer Rear Brakes Done
After installing the caliper time to torque the rear 2 bolts. The specs call for 24Ft/Lbs for the caliper bolts. If you are paranoid put a dab of Loctite on these prior to torque. Just re-install the tire and torque the wheel lug nuts to 100Ft/Lbs in a criss-cross fashion. Do the other side with what you learned by this side so it should be much easier. Again do a safety check, make sure hose is not kinked, fluid in master cylinder at proper level, nuts and bolts properly torqued.
Conclusion
The rear brake job on the Explorer is a good DIY project. It's easy and pretty inexpensive. For under 80 bucks you can have all NEW parts and learn something to boot. The key things to watch out for are worn or broken parts, cracked hose, missing clips etc. Once you figure out how to match of the direction of the brake pad ears this is an easy job. Hardest part is jacking up an chocking the wheels.
You can Navigate to any of the pages in this project by the BELOW drop down menu or use the NEXT or PREV links
Install Outer Pad in Caliper
After installing the inner pad, time for the outer pad. For the outer pad you may need to use a screwdriver to pry the spring to allow it to slide onto the caliper (see pad removal on previous page). Try to keep grease off the pads when installing.
MAKE sure the 'EARS' on the edges of both pads are the same style on both inner and outer pads or you will not be able to replace the caliper in the bracket


