Most of screws can go in place now, don't forget the one behind the door panel (torx) and the one in the pocket on the inside (phillips) and the long screws that hold the handle in. The handle installs just like it looks, you put the fingers in the slots and slide it in. The back end has a pin that hold it tight then put all the screws in. Most are Torx at this point. It's a good idea to take stock of what you have left that is not installed. If you find a bunch of screws you might have a problem.
Re-Assembly
After the screws are in place pop the springy cover back on, same for the Airbag hole cover.
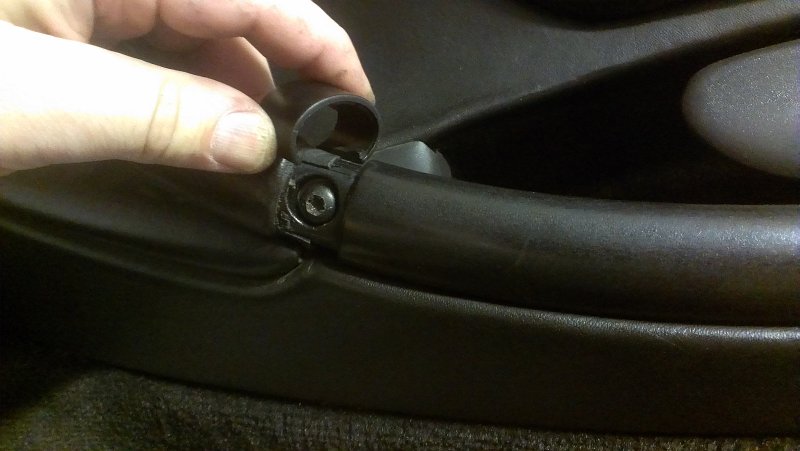
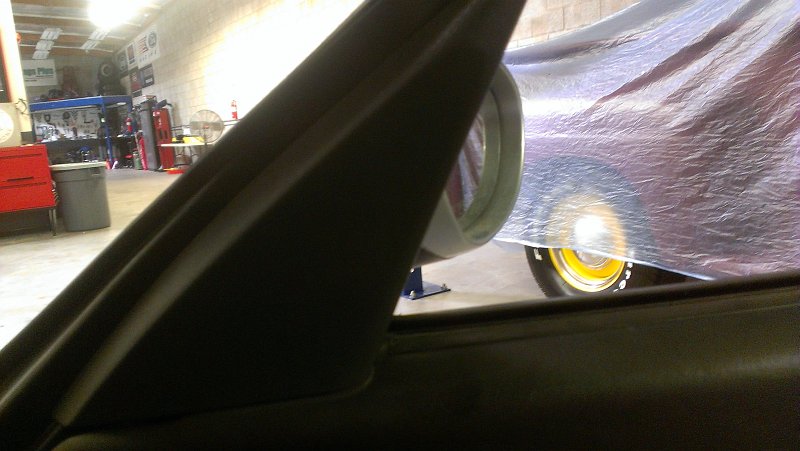
Mirror Mirror
The mirror is a bit tricky due to the cheep and overly complex connector system that is used. Make sure that you start with the two Torx screws then the one under the tape. Also note all the blue snaps are in place to hold the plastic cover. It's a really good time to make sure the mirror works if you have not already done so. This connector did not leave a good feel for being snapped into place.
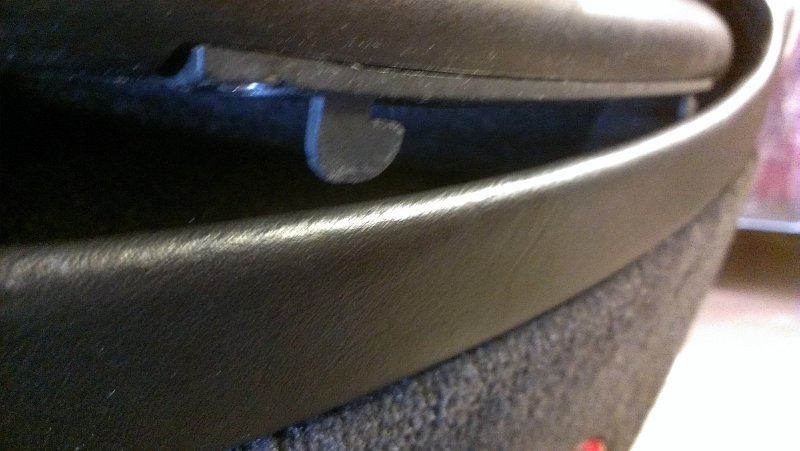
Getting Close
Just about done. This cover snaps right in the blue plastic snaps. It goes on AFTER the door panel as it will prevent the proper motion you need to put the panel on the door.
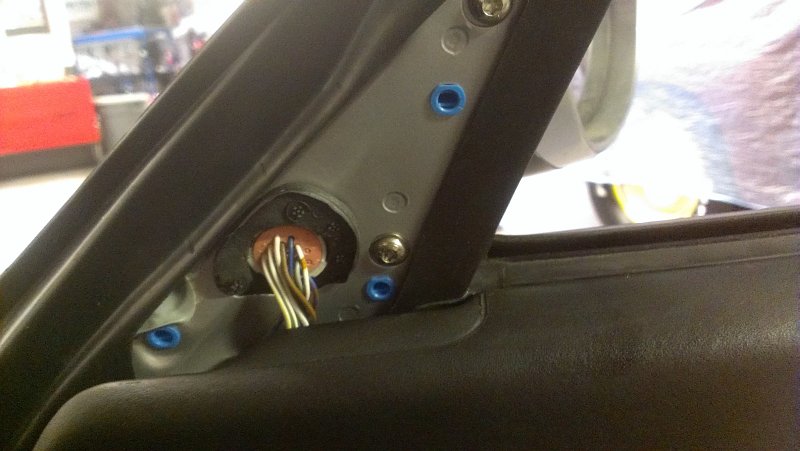
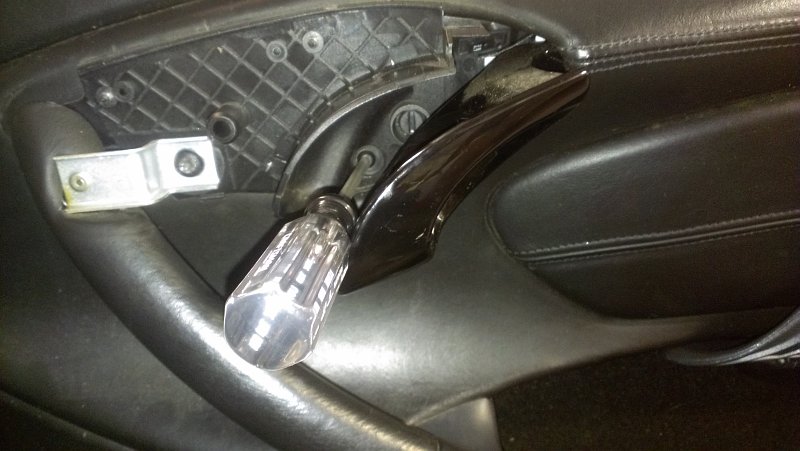
Don't Forget
Again, just to make sure you get this one in before you finish, it requires you to pull out the door handle a bit to get at this Torx head screw. After this is done you can snap the last part over the handle. I broke the top clip on mine but it seemed to still fit very well and snap tight enough were I would not worry about getting a new one.
Closing Comments
This project started out with some simple goals, replace the smashed in door with a wrecking yard pull. The part was from potentially a different year with different options so it's always good to find out more information on the parts, especially from Ebay vendors who may be less than knowledgeable about what they are selling. I got lucky and could make it all work with some, dare I say American Ingenuity, but never the less it was just about taking the time to see how things came apart and keeping track of screws and the like. If I didn't have to replace the door latch the job would have been very quick.
One thing to know for people that are more concerned with the finish would be to be careful with the prying of parts and wrapping up screwdriver tips as well as the scraper blade with some tape to prevent scratching to some of the surfaces. I went at this with more of a brute force approach for a couple of reasons, one was that it's not my car (just kidding), the second is that the car is really beat and I'm acutally making it better but putting on a door that has a non-smashed window.
One that that I will give to the precision German engineers is that the door fit with a perfect gap without any moving of the hinges or door strike.
I would expect this process to be the same for similar Porshes of the era.