Skil Cordless Screwdriver Battery Replacement
I have had this old Skil 2305 Cordless Screwdriver that looked like a mini hand drill for a long long time. Used it now and again but always like its cartoon nature. Its NiCad batteries finally died a short circuit death. I found a few on eBay and that said they were holding a charge, but how good could a 20 year old battery really be. The cool part it's a tool that was made in the USA.
This procedure should be similar for most of these little drivers, open, cut wires, solder in new battery.
My task was to find a replacement battery for the driver. It ended up being pretty easy as it was a standard 3 Cell Sub-C pack. The problem was that the connectors were not the same or it would have been a drop in.
As you know, nothing is a drop in when it comes to fixing parts or cars in my garage. Here is my battery replacement project that likely can be carried over to many of the old battery screwdrivers and lady drills of yester-year.
Parts
3 Cell Sub C pack from - Battery Space
Tools needed
Soldering Iron, Solder of course
Wire, 14 or 16 gauge, thicker better.
Electrical Tape
Small Torx Driver
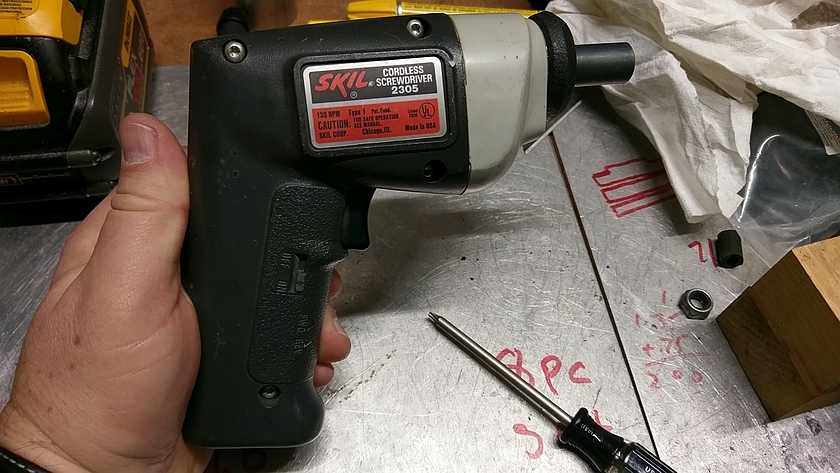
The Skil Cordless Screwdriver
Told you it was a cool old piece. Looks like an old Skil Drill from the golden days of tools when they were made in the USA. It has a cool feature in that you pull out the ring near the chuck and it locks the mechanism for manual twisting where the motor may not have enough juice to get it down.
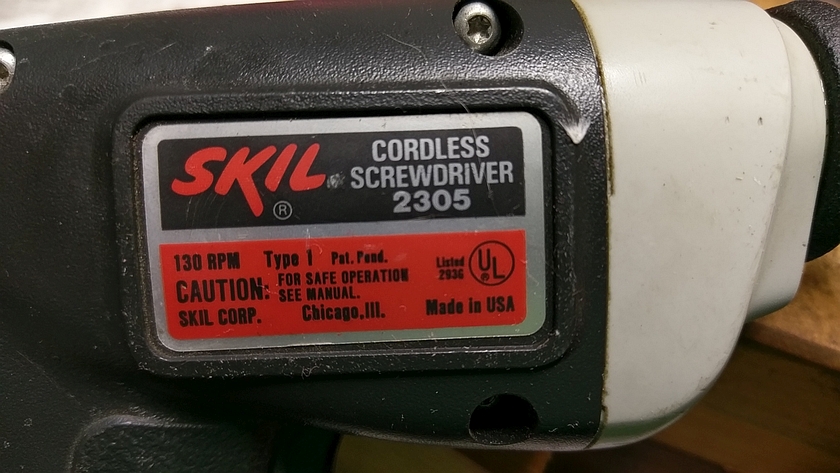
Close View of the Label on 2305
This is a bit of nostalgia I guess. I would expect this to made in China.
Disassembling the Case
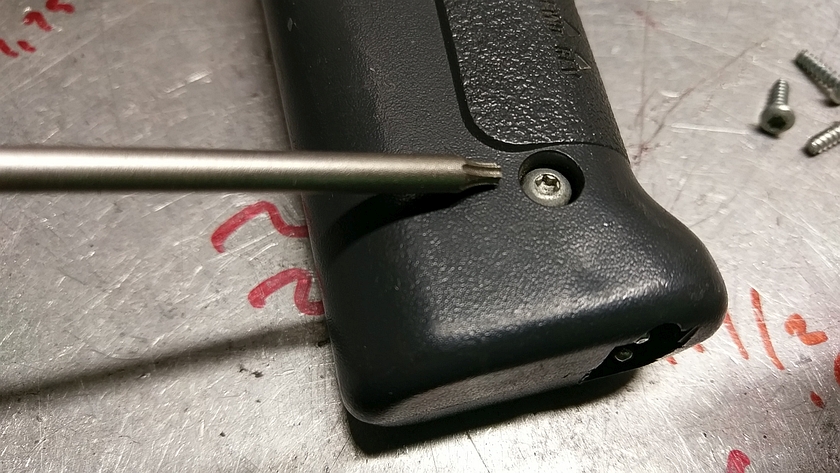
Their are a few Torx screws (self tapping) that hold the case together. Just remove them all and the case should split in half. Watch out for the switches and the on/off part of the mechanism. It's pretty easy to put it all back in if it comes out.
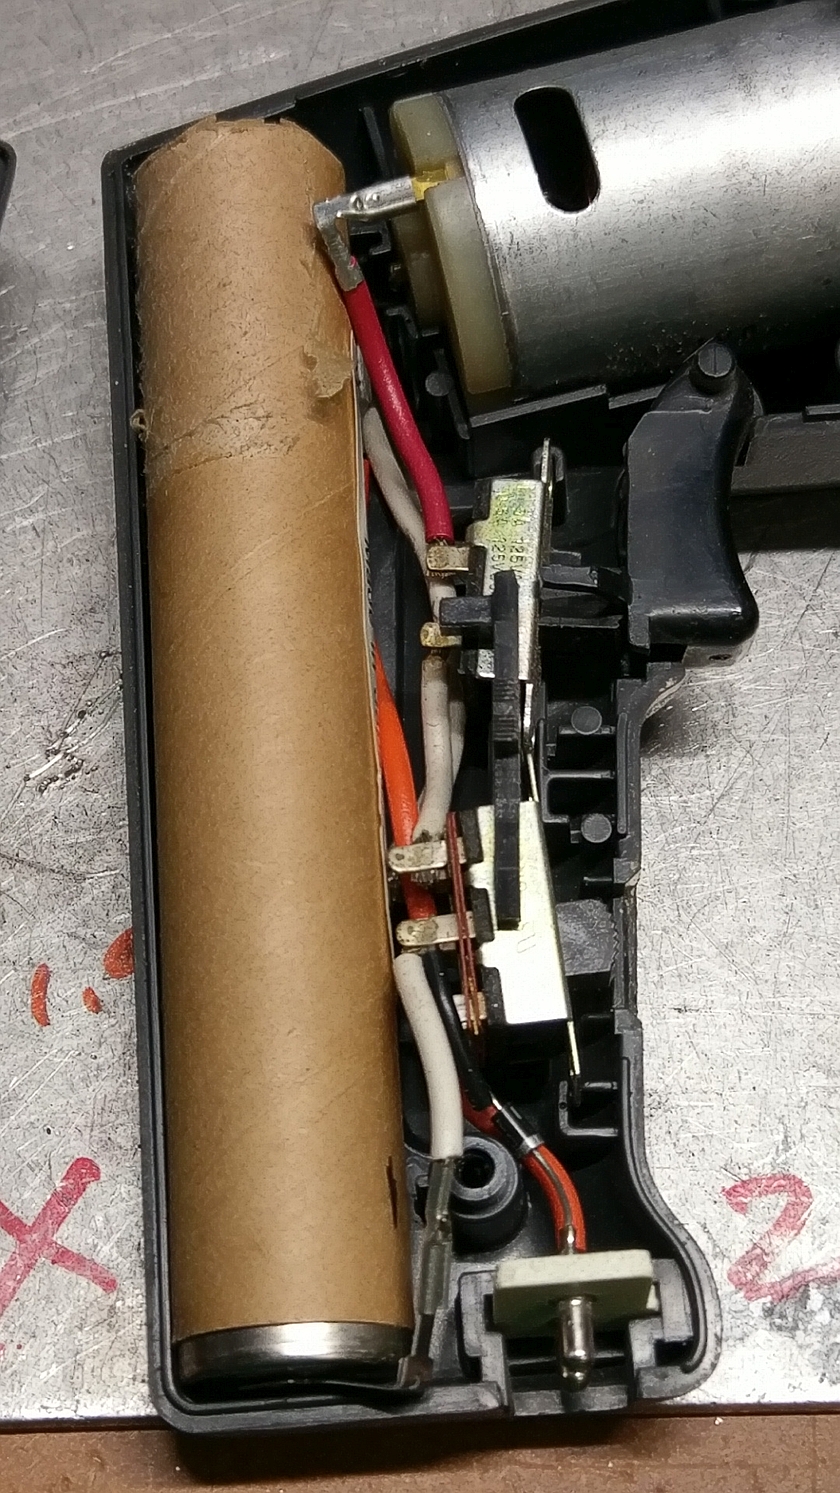
The Guts of the Skil Screwdriver
Pretty simple, no electronics, just a simple diode for charging. Forward and reverse are by a slide switch as is the trigger. Note the slide switch on the bottom pulled out of its slot and is pushed back a bit. White wire from battery is the Negative and the Orange is the positive that is on the bottom of the switch. This is where it gets a bit tricky since the old battery has nice thick connectors on it that fit the 2 connectors that go to the switch. Just mark things or take a picture if you have something different.
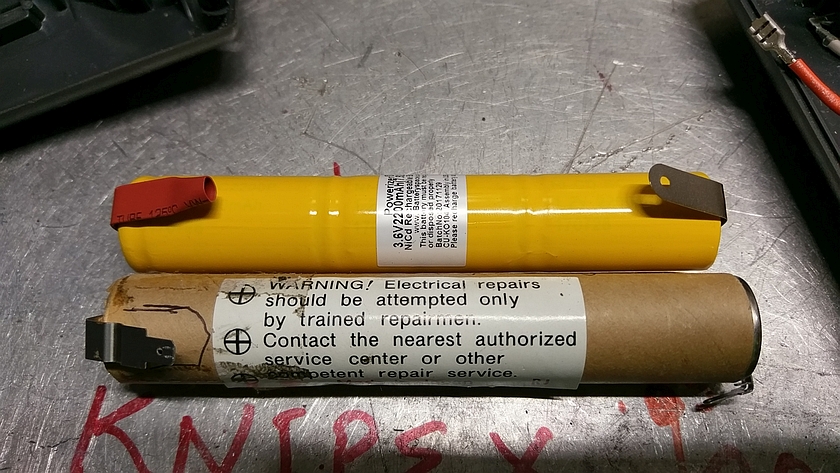
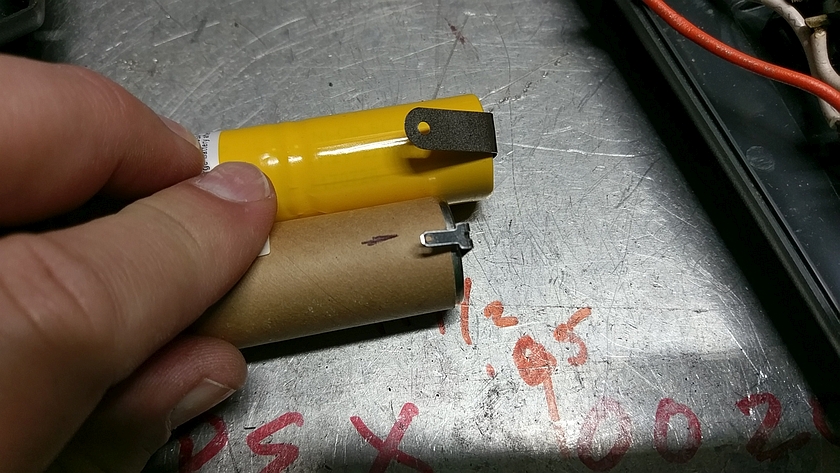
NiCad Batteries
The New battery is on the top, nice and shiny. The older one encased in the cardboard tube is below. You can see the different positions the terminal leads come out the battery in the new vs. old. Also the old battery had thicker terminal that the wires could be attached directly to. This is not the case with the replacement battery. Since Skil no longer makes anything for this driver I used the generic replacement battery, likely more power then the original but some modification to make it work will be in order. Also as a TIP not a great idea to work with batteries on a metal table, ask how I know.
Closer Look at Battery Tabs
Here are the NEGATIVE terminals on both batteries. The original has a nice strong tab for slipping on a connector. The new battery has a thin solder tab.
Switch Wiring
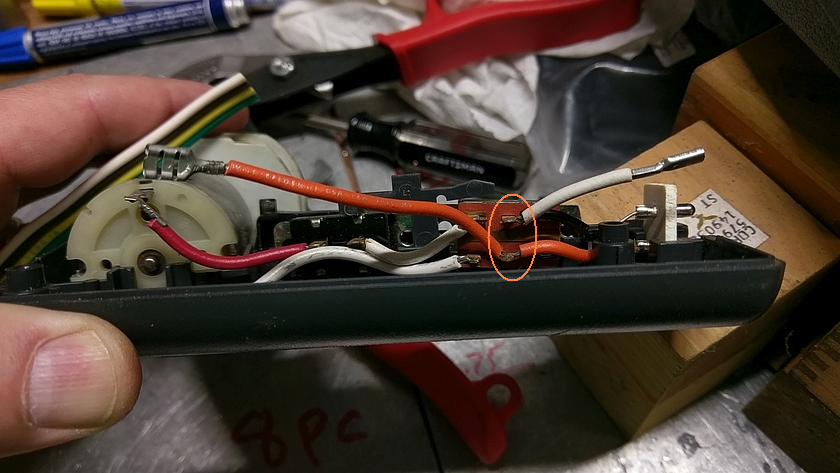
With the battery out you can see the switch and where the 2 wires from the battery connect to. The WHITE is the NEGATIVE and the ORANGE is the POSITIVE. The wires were too short to cut and solder directly to the tabs on the new NiCad so they are going to be unsoldered from the switch and new longer wires added.
Solder Gun and Lead Based Solder
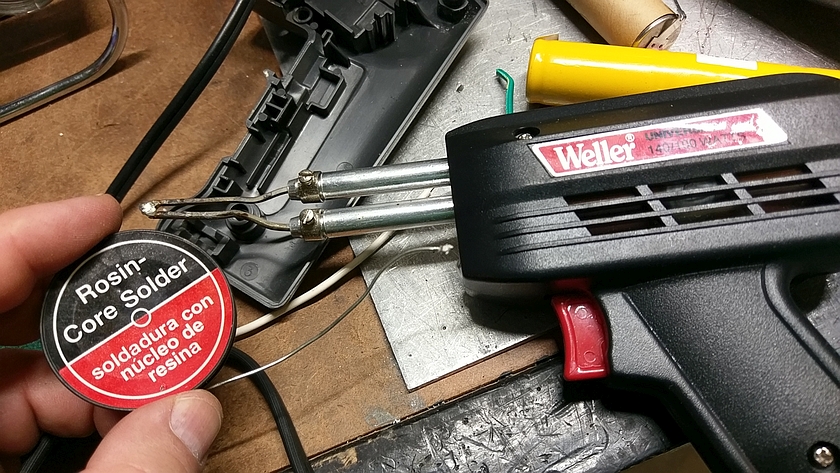
Opened up an old Weller solder gun, and found a nice roll of ROSIN core solder. Don't use acid or plumbing flux, use electronic solder. The gun throws out plenty of heat for the thicker wires used. A good soldering iron would do just fine as well.
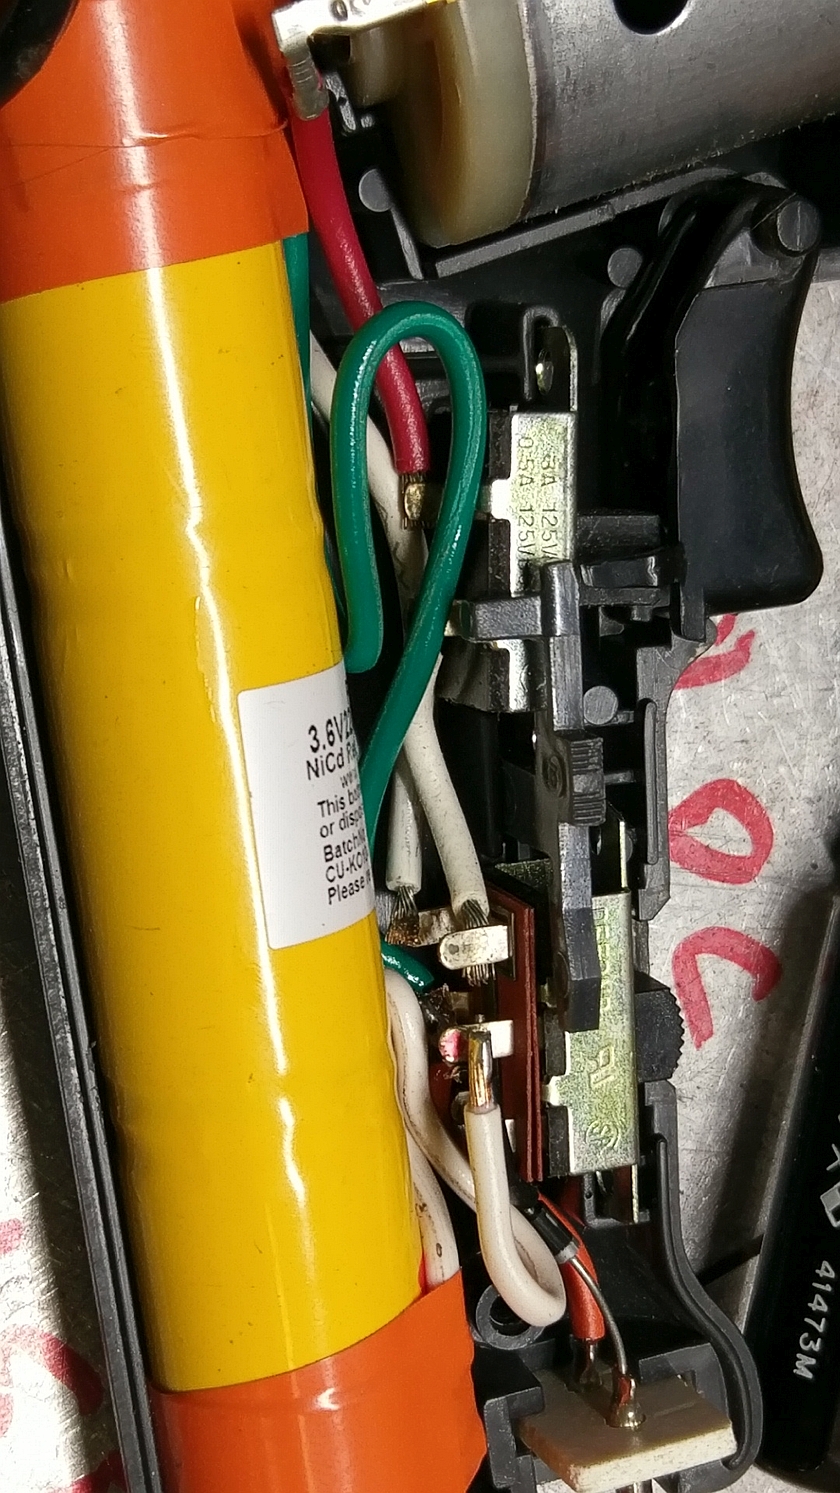
Completed Skil Battery Swap
Got the wires tucked in and made sure the switches and little bits were all back in place so the cover would fit snug, then put back in the screws. You are just about done, with the exception of a charge you are ready to go.
This is how I did it for the Skil 2305, but for any of the old or smaller cordless tools it's about the same. First thing is to see if you can get a battery from the manufacturer, if not, first step is to try to identify the size and number of cells in the battery. Battery chemistry is also important, this was old enough to have a NiCad battery, but newer might have NiMh style which is a different chemistry and possibly charger so you want to keep things the same.
My cool old Skil is now back for another 20 years of operation!
Happy Motoring and GET them projects done!
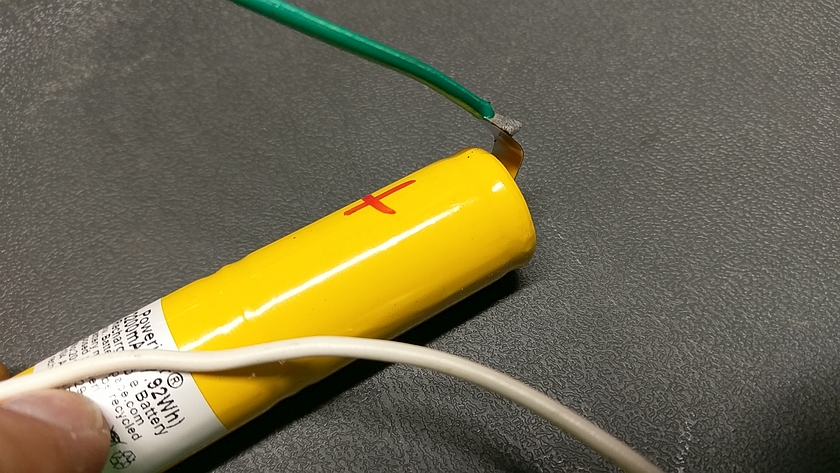
Soldering Leads to NiCad
Get you nice thick wire (14 or 16 gauge) and pre-solder (tin) the wire. NEXT, and read carefully, Lift the battery connecting tab away from the battery edge. Under the plastic wrap is a metal battery that IF the tab melts through you will have a nice short and likely weld the tab to the battery and wreck the thing. I lifted the tab, and quickly soldered the wire to the tab which was also pre-tinned with solder. Try to do it fast so the battery does not get too hot.
Battery wrapped up
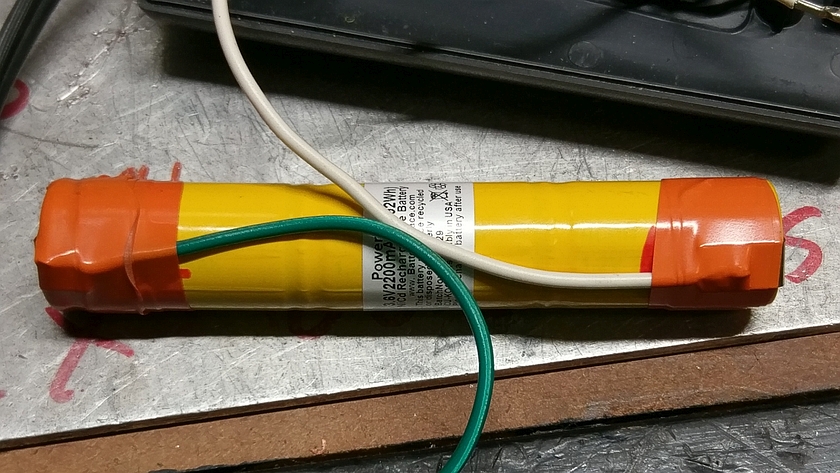
After soldering both wires to the battery, I tossed some electrical tape UNDER the positive lead between the battery and the terminal for extra protection, then wrapped the outside of them with some fancy 3M Orange electrical tape. The wires will be cut and stripped to not be so long. Again watch out for the ends of the wires touching each other or common metal objects.


