Sunbeam Tiger Seat Install
Using the stock Sunbeam seats is something that I was never intending on doing. They are way too flat and weight a
lot. Not good for a track car. I don't know if they are supposed to lock but if they don't it's seemed like a bad idea to
have then flip forward and all. In any case they found a good new home and I'm off to install the Vintage Cobra seats
that I have had sitting around for a few years. These were bought for the Tiger as they are small yet still have some
side bolsters to keep you planted in the seat.
Tools and Supplies Needed
Various Drill Bits, I mostly used a UniBit for the aluminum
Thin Hack Saw for slitting the car side seat rails
RivNut inserts for each seat rail and matching drill bit (17/32" as I recall)
4 Pieces 14"x1.5"x0.1875" Aluminum Angle for car mounting
4 Pieces 14.5"x1.5"x0.1875" Aluminum Angle for seat mounting
Various measuring devices, tape, stick, what ever you got
Sharpie Marker
Nuts and bolts for mounting
3M Blue tape just in case...
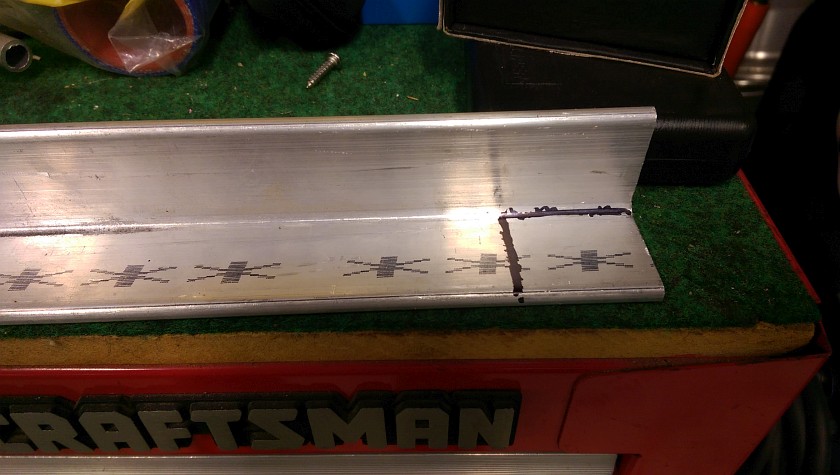
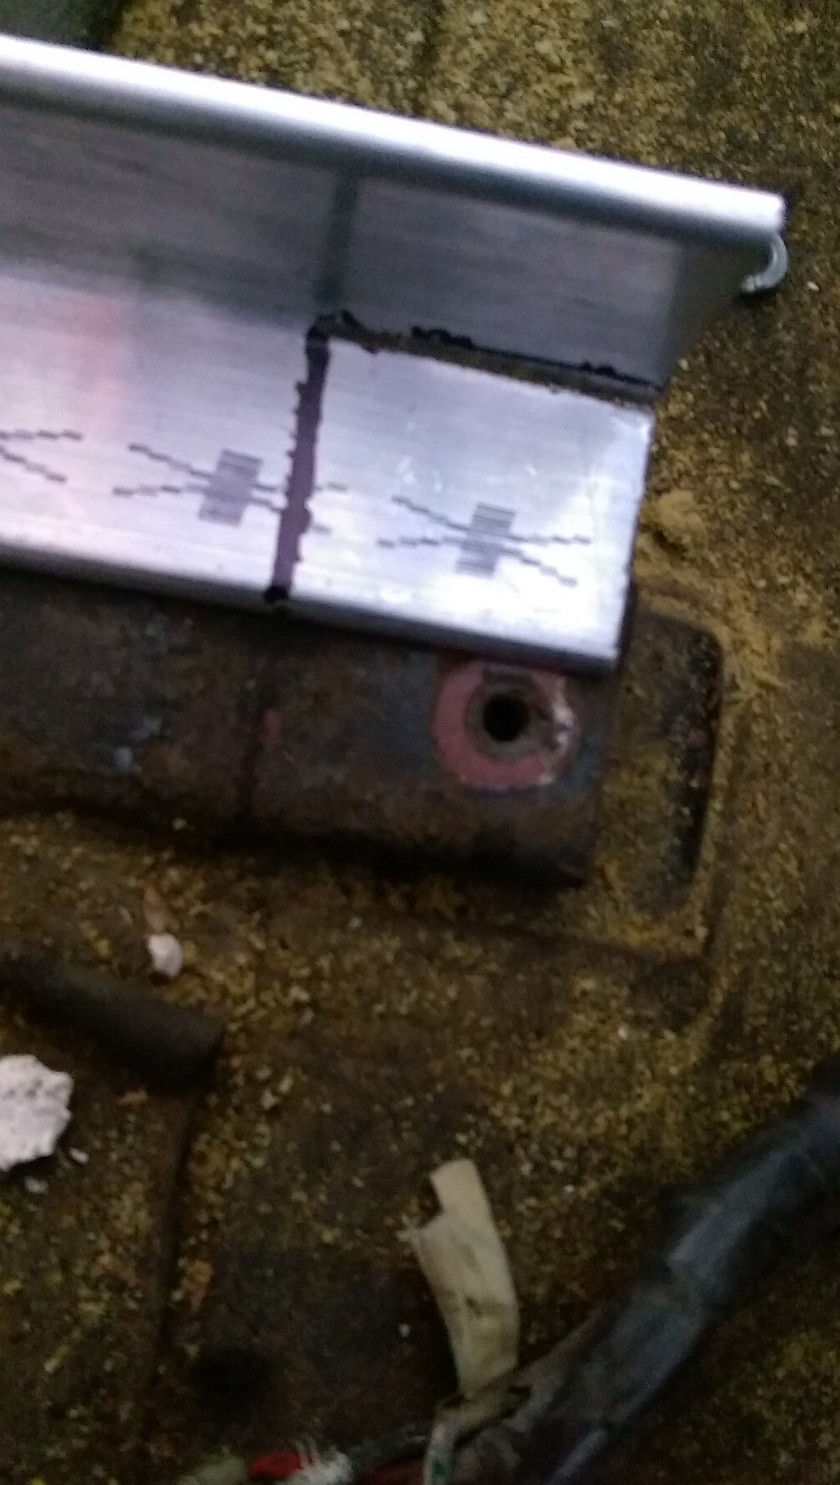
Bottom Seat Rail Set Up
The seat rails on the Sunbeam are not flat, they have a small angle bent into the front of each rail about 1.5" from the front. For the rail to sit flat and be able to use the bolt hole the angle needs to be cut 1.5" back along the inside then bent to match the contor of the cars seat rail
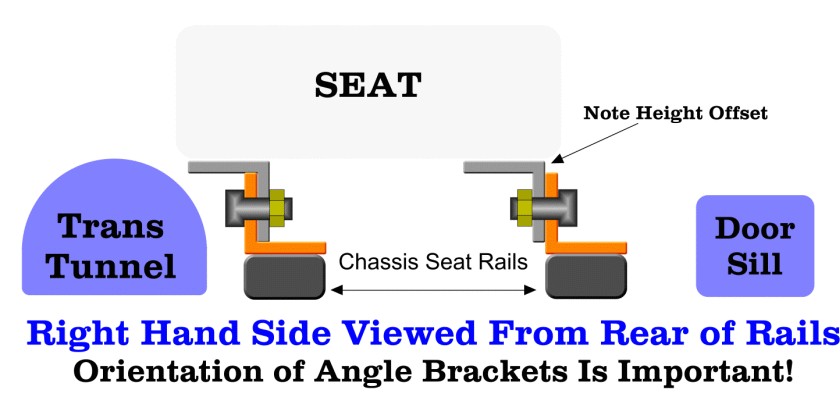
Passenger Seat Rail Orientation
Here is from the back of the passenger seat view (LHD car). Notice that both angles are sided toward the transmission tunnel. This is IMPORTANT.
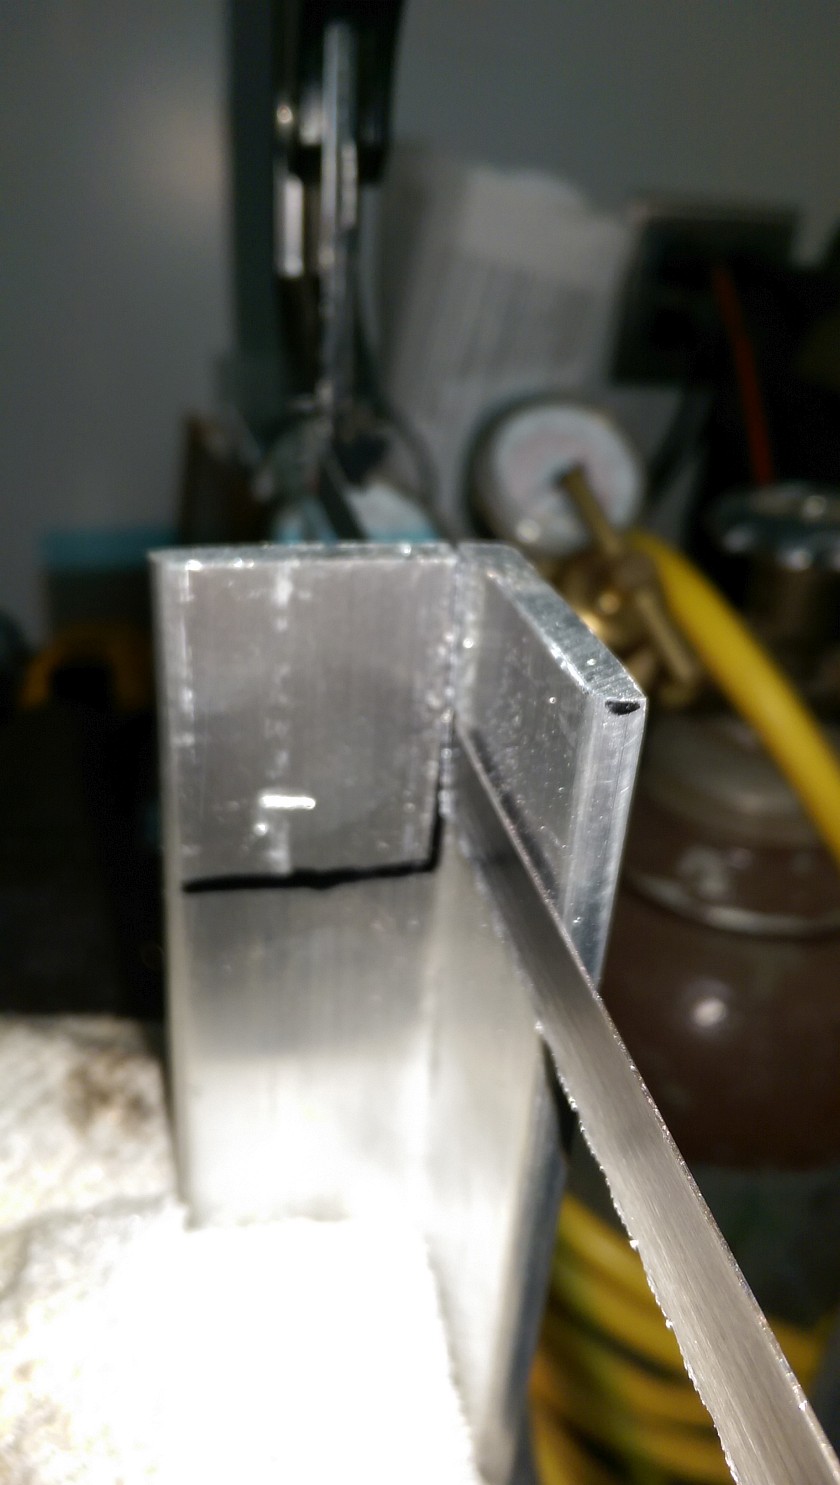
Slitting the Lower Seat Rail
Using a regular hack saw I just cut the 1.5" slit down one side of the bracket. Before doing any cutting mark all the correct sides. THIS WILL DEPEND ON HOW YOU BOLT THINGS TOGETHER. On my install I have the bottom brackets with the vertical sides both towards the inside of the car (trans tunnel). Lay things out and use clamps of welding vice grips to holds things together until it's totally mocked up. I made the first set and while they fit very well, the seats were offset towards the outside of the car. The Tiger has the rails of the seat OFF CENTER! So anything you can do to move them torwards the tunnel will help.
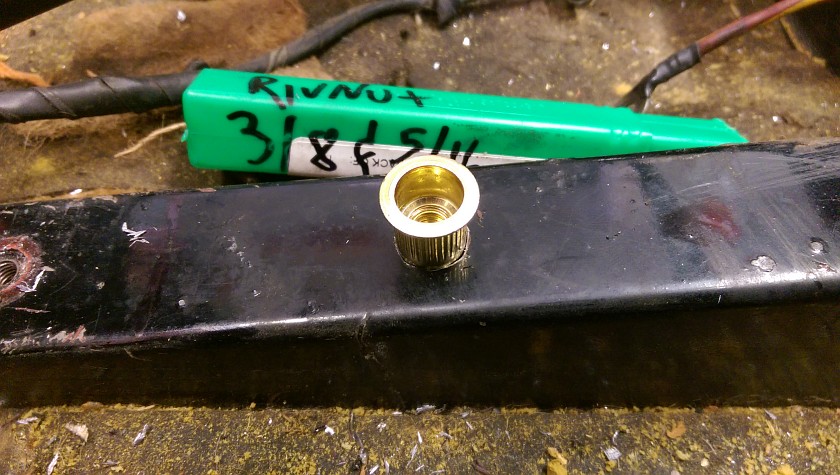
Adding RivNut
The seats on the Tiger and I'm guessing the Alpine as well use some tiny 1/4" bolts to hold things down. I added a blind hole for the RivNut about 4" from the back side of the rail. I used the Marson 325RN RivNut tool to ensure that this dude does not come out or spin. You can also just use a bolt and some washer with fair results.
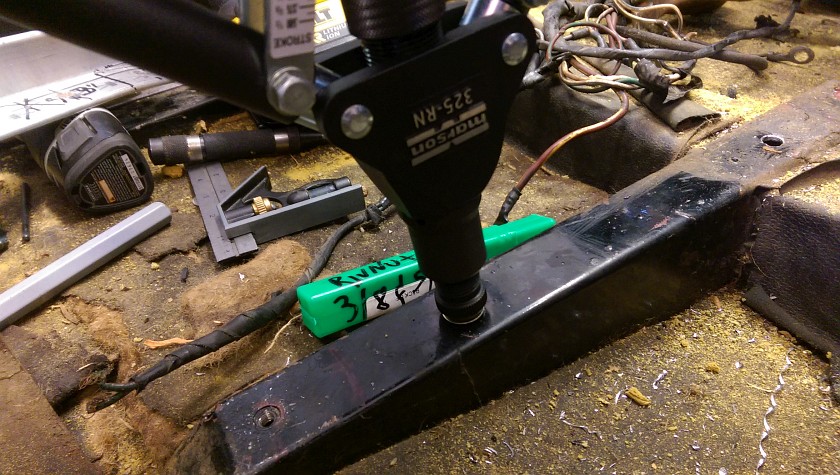
Marson RivNut Tool
Making sure that this dude stays in, I used the large Marson RivNut installer tool. This is like a giant pop-rivet tool that does not twist the RivNut on install and it's not going anywhere. You can also see the upper hole that is approx. 3" from the top of the bracket. While the back hole is blind, the front hole ends up right at an access point under the chassis. I intend on using 5/16" bolts for both. Before drilling the upper hole make sure it's ending up where you think it will be. I used a small 1/8" pilot bit to check before making a big blunder. I will say that I got lucky...
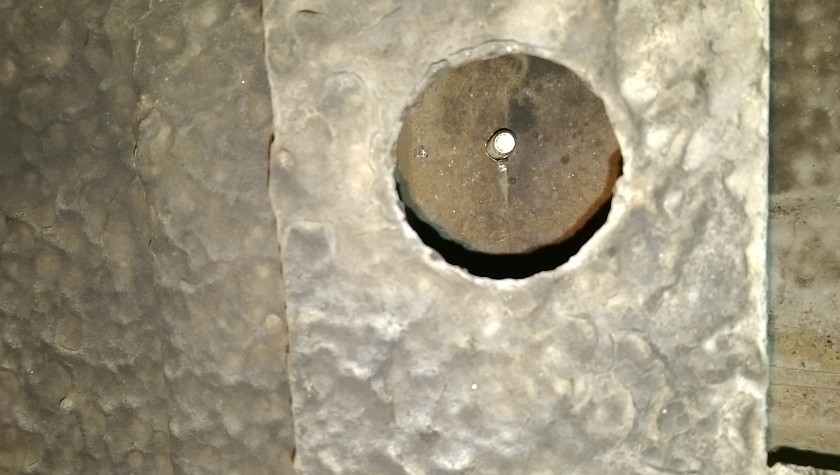
Sunbeam Chassis - Bottom View
This is where the hole ended up on the chassis. Both rails have this access hole in the frame. This is nice! One thing is that it's double layered sheet metal and their is a small gap between the 2 layers so use a large washer and a locking nut and don't overtighten too much or metal may distort some. Keep it real my freind :)
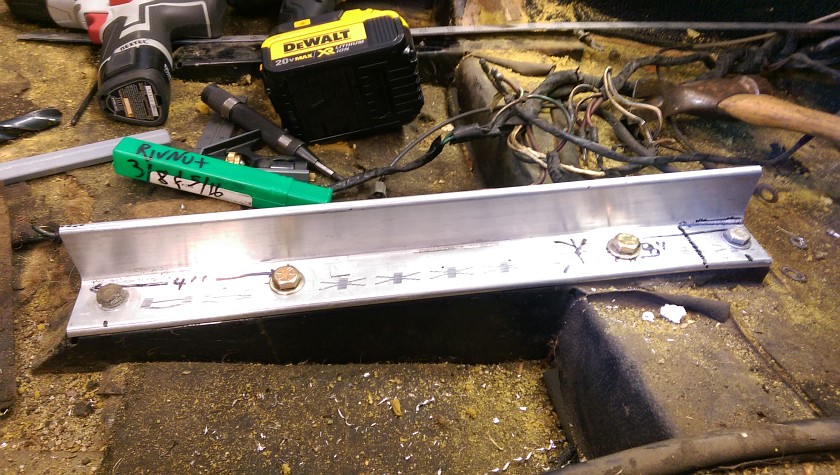
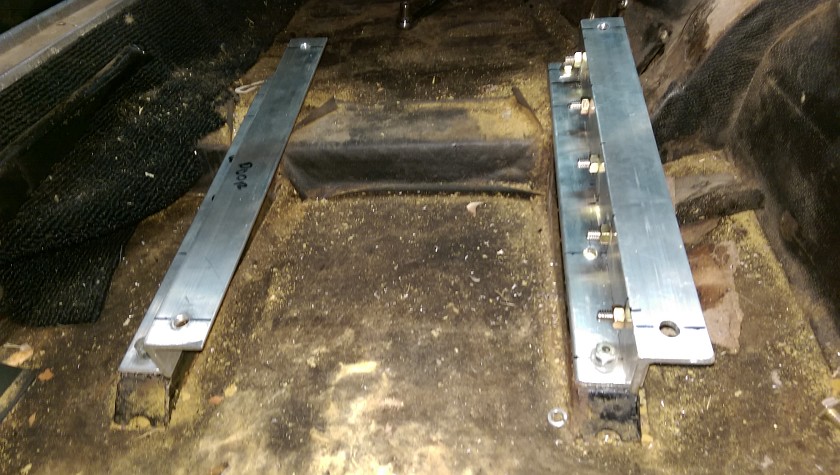
Just About Done Mounting the Seat
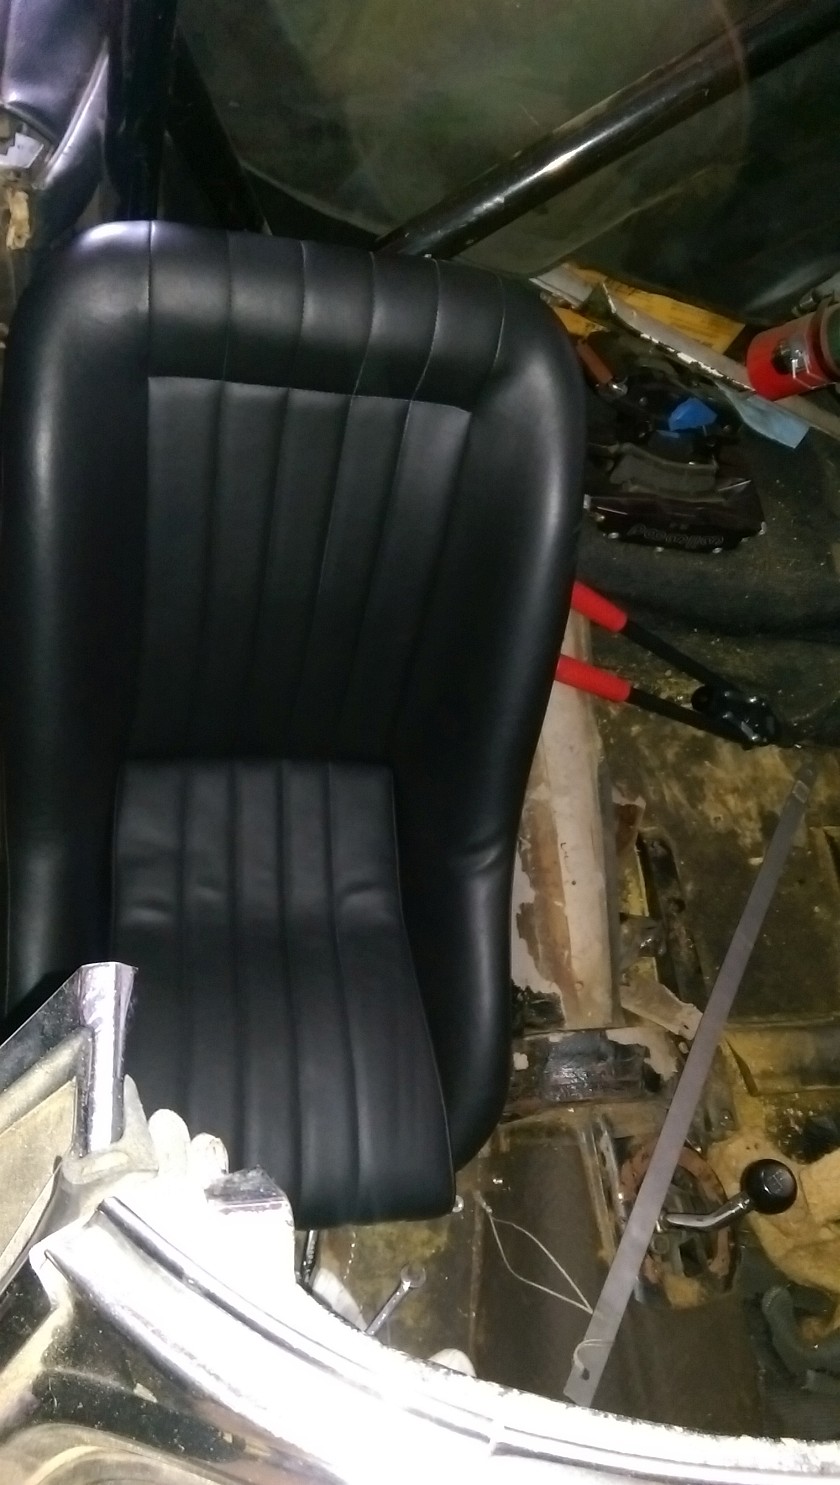
Hard to tell but the front part of the seat is overhanging the transmission tunnel, well it's actually touching it and that's about as far as I can go towards the center of the car without raising the seat a bit. I liked the height, and offset seems OK now so I'm satisfied with the job. Do the same for the drivers side!
Conclusion
I had to do the initial mounting twice, once got the hint that the seats were not centered I had to redo the bracketing and I got lucky that I could still make it work by messing with how the angle brackets mate. The mounts for my seats are fixed, but they could easily be made to adjust by drilling holes in a way that will allow movement. I think the mounting of the seats in the Tiger are the same as the Alpine, but not 100% but I suspect the same.
Also it's important to measures all the dimensions of the rails, seat mounting width, etc to make sure it will all fit. I used COBRA Vintage seats that seemed to fit nicely in the smaller car, they also make them with head rests and in a couple of styles, but be aware that the Tiger/Alpine can be a tight fit for larger seats if you want to get them centered.
Happy Tigering!
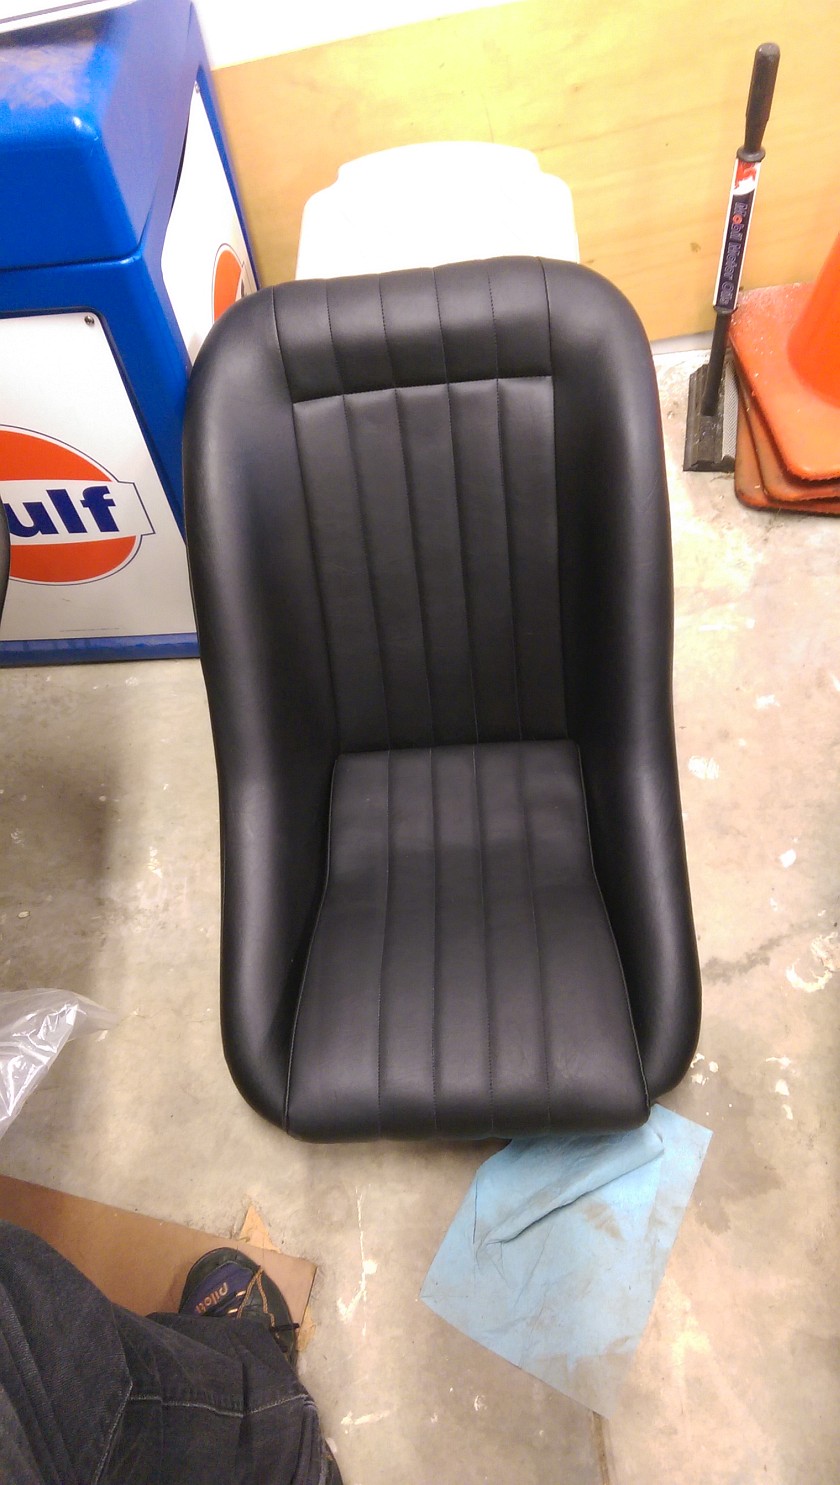
Cobra Seat
This is the seat that I'm going to install. It's from the Cobra Seat company (not the car). It's a small seat that seems to fit pretty good in the Sunbeam. Mounting is by 3 M8 bolts from the bottom of the seat.
Close View of the Seat Rail and Bracket
Just a closer shot of the seat rail on the Tiger. It begins to flatten out at 1.5" or so.
Aluminum Racing Seat Rail
Well sounds good, but really just a close view of the seat rail mounted to the car. This is the passenger side and again note the way the rail is set up. With the additional mounting the rail is a magnitude of order stiffer to the car then the 2 puny bolts that were stock. Measurements for the rails are shown if you can make them out. Main thing is to mark, check, re-mark and then drill. The end bolts holes in the bracket should be drilled first, then with a small pilot bit, drill the 2 additional holes (or however many you might want). NOTE : I welded the slit after I completed all brackets. It likely was unnecessary due to the additional bolts I added but figured better do it since I have an expensive welder and always need practice!
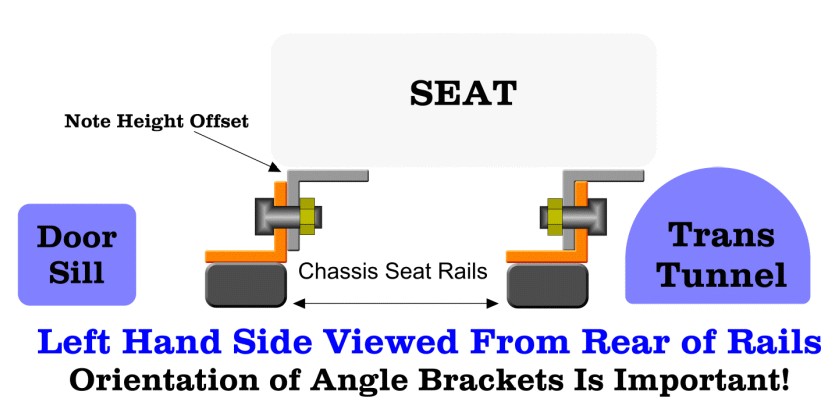
Driver Side Seat Rail Orientation
This is the drivers (LEFT HAND DRIVE) side view of how the rails were assembled to make things work. It's important to note the way the rails stack against each other. On side different, see the 'Note' in the picture if not obvious.
Passenger Side Seat Rail Orientation
This is the passenger (LEFT HAND DRIVE) side view of how the rails were assembled to make things work. It's important to note the way the rails stack against each other. On side different, see the 'Note' in the picture if not obvious. This is basically the flip flopped view of the drivers side. Again not subtle differences and the way the rails all assemble.
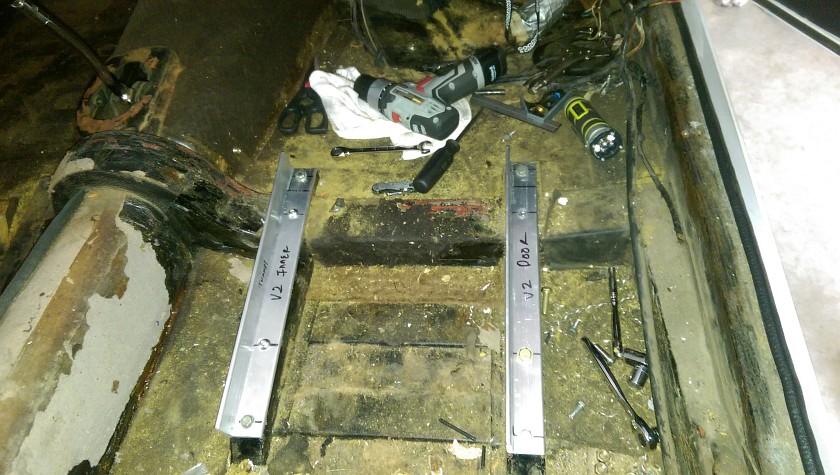
Driver Side Rails Mounted
This is how the driver side rails look when mounted. You might ask how did I get the location of the hose for the seat bolts? Well with the dimensions of my seats and the 1.5" rails they all ended up just about dead center. Some slightly larger or oval holes help fit things up.
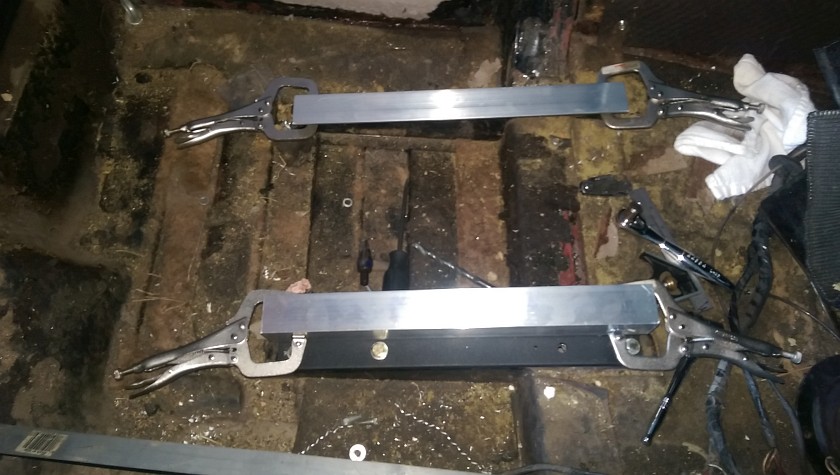
Mocking up Seat Fitment
This is a bit out of order, and with the incorrect orientation of the angle, I didn't have a shot from V2 where I fixed the alignment, but you get the idea. At this point I placed the seat centered on the rails and marked things up. Then drilled holes in the aluminum angle to mount the seat. Once the seat side was bolted to the seat I again fitted it back over the bottom angle brackets. The fit was just about right, only a little ovaling the hole on the seats were needed to make it slide over the bottom brackets. Once I got things where I wanted (BY SITTING IN THE SEAT) them I again used the Vice Grips to hold the angle brackets together and unbolted the brackets from the car. Then unbolt the seats (mark your brackets to seats) and then drilled out the mating holes. I drilled 5 5/16" bolt holes, likely 3 would have been fine, but you know how it goes. If you are smart you can make it adjustable by drilling a few holes so you can slide fore or aft. I opted to just lock them in.
