DIY Spanner Wrench
I started to learn how to rebuild the Ford 9" differential and found that you needed a few tools to make the job easier. One of them was the spanner wrench. I found them on Amazon (Armstrong Brand) and figured I would get a set. Each wrench was about $50 bucks and they looked pretty simple. I was flush with cash at the time so I did buy them, but I decided that I should just really make one.
I had some scrap 3/4"x1/8" steel bar stock and that along with some nuts and bolts would do the job. I ended up getting lucky as the head for the cap screw was the same size as what was needed on the Ford 9" adjusters. Below is the easy bake version of how to save 50 bucks...
Side Bearing Preload Adjusters
The 9" uses 2 adjusters to set the bearing preload and backlash. You can use a variety of tools to do this, including a pair of phillips head screwdrivers if you had to. The better way is to use a proper spanner wrench such as the Armstrong or the one we are going to make here.
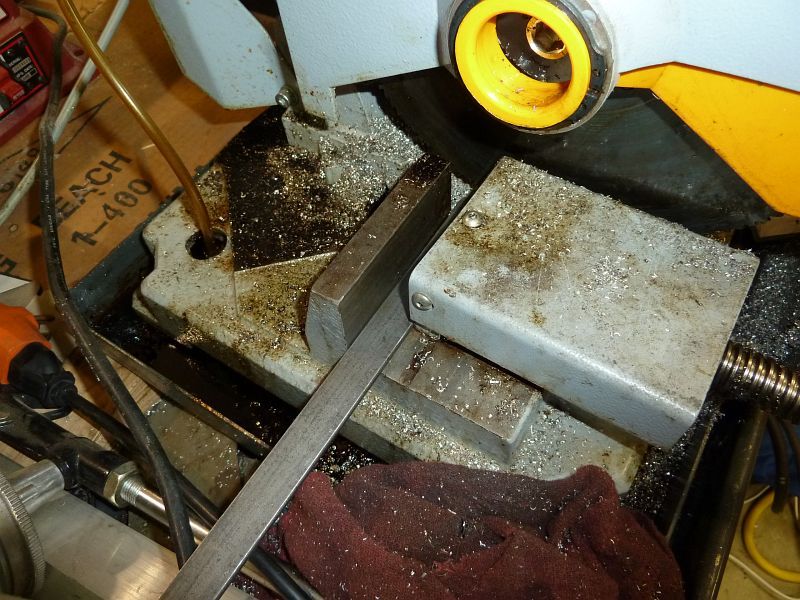
Cut the metal
Chop up 2 10" sections and 2 1.5" sections clean up edges
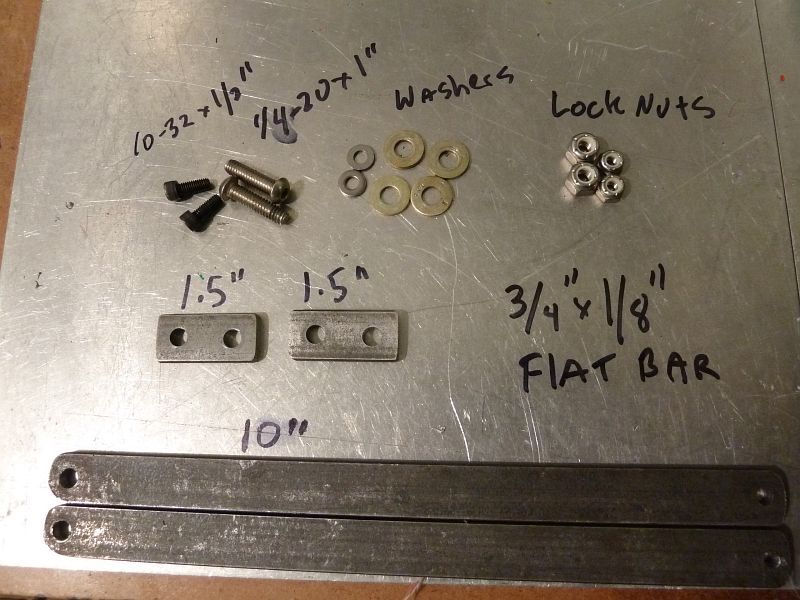
Metal parts list on metal
You will need only a few parts, much is not really that critical, but here is what I used -
2 - 10" x 3/4" x 1/8" Steel bar stock
2 - 1 1/2" x 3/4" x 1/8" Steel bar stock
2 - 10-32 x 1/2" Cap screws
2 - 1/4"-20 Button head screws (use what ever you have here)
2 - 10-32 Nyloc nuts (jet nuts or other locking nut work for these)
2 - 1/4"-20 Nyloc nuts (jet nuts or other locking nut work for these)
2 - 10-32 Washers
4 - 1/4"-20 Washers
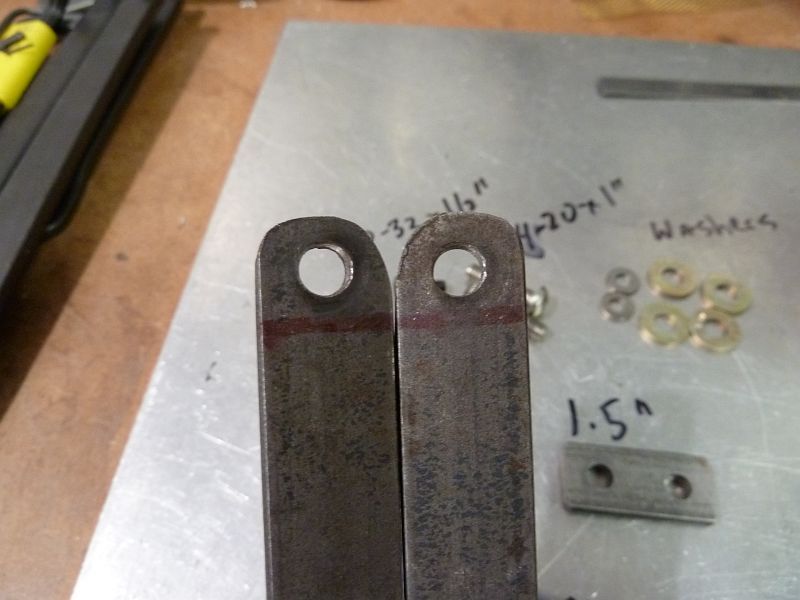
Radius the two inner corners
for the inside 2 corners you need to round them off so they can open up without hitting. It's really a circle centered on the hole but just do it with a grinder or sander to knock the edge down like above.
Assemble the retaining plates and arms
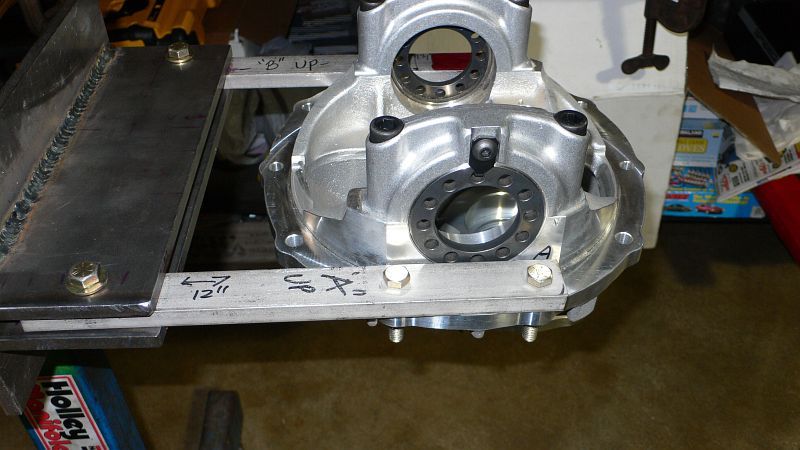
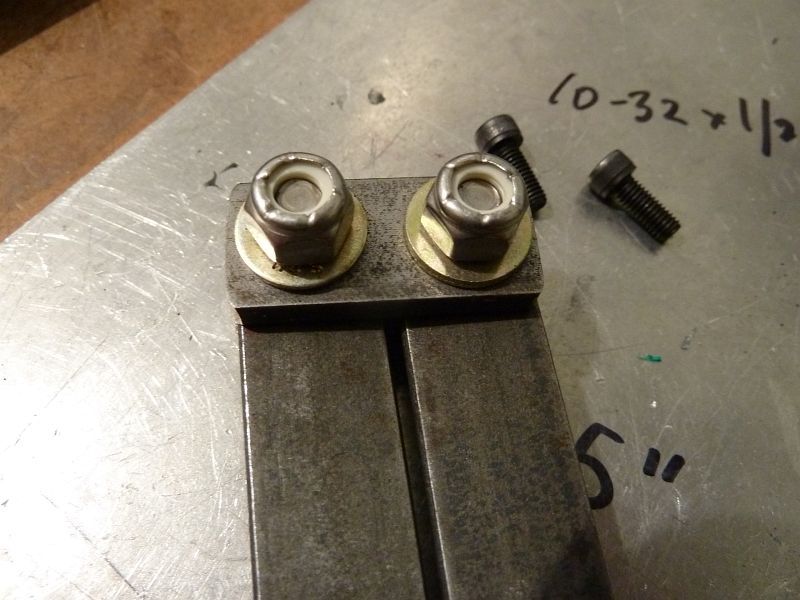
Assemble the retaining plate on one side with bolts, then washers, then arms, then retaining plate, then washers then locking bolts. Tighten until they just start to get some friction and the arms are movable but not easily movable. Should look something like this. Make sure the bolts make it into the locking portion of the nut. These just make it.
Drill holes
Mark .375" down from one end of each arm and drill holes for the 1/4"-20 bolts in the ends of the arms. Then use this both of the arms side by side to mark holes in the 1.5" retainers. The hole should be centered and the metal should be flush with the ends (look at the assembled version for the idea). If done correctly the arms will not stick out when swung apart. Drill 2 smaller holes for the 10-32 on the other end about .375" from the end.
Now the cap screws side of things
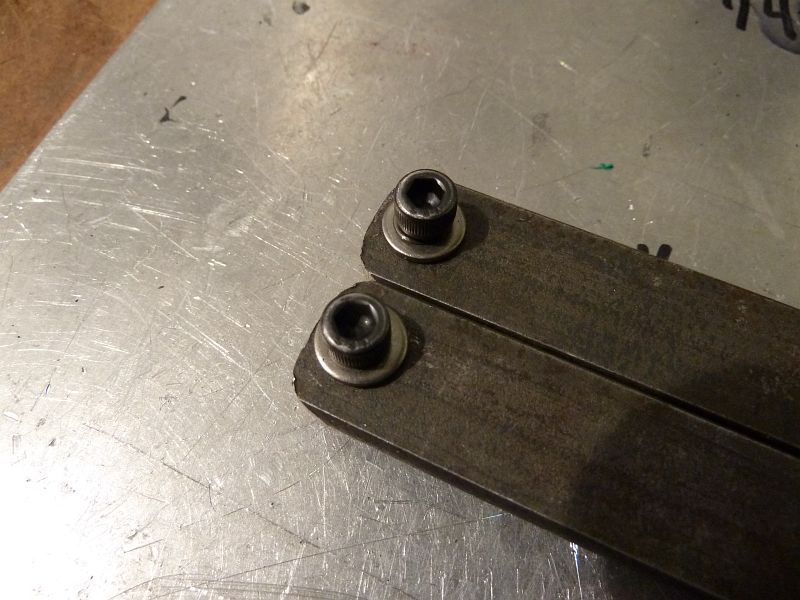
The cap screws were exactly the same size as the Armstrong tool and fit the 9" bearing adjusters well. I added a small washer to the side to offset the tool a bit when inserted into the adjusters. The back side gets locking nuts as well.
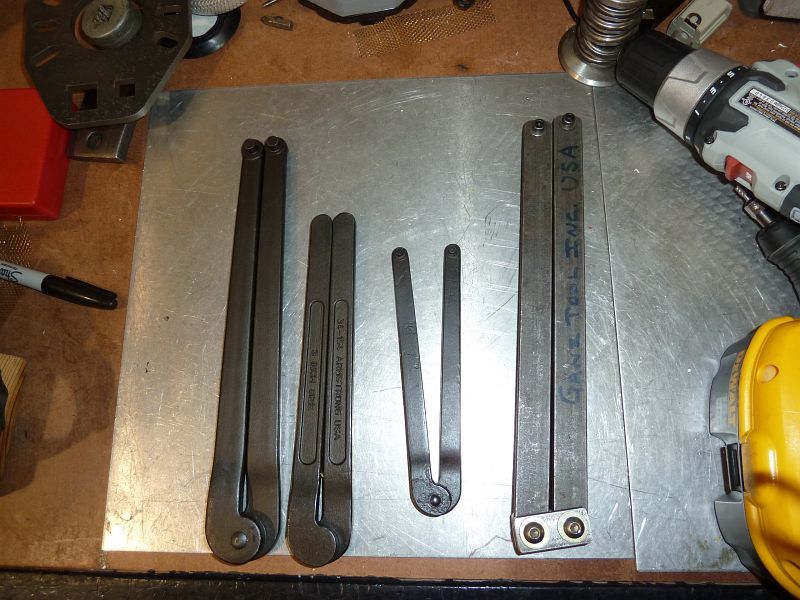
Armstrong vs. Sandy Strong
The Armstrong has a single pivot which actually works better, but I was going for simple and didn't have a press to make the bends. What I found helped is to tighten down the ends once I get the size set. One cost a lot, one is scrap metal some trade offs to be expected...
The Armstrong tools are very solid and if you are going to be doing a lot of work on differentials and such they are a USA made tool and worthy of your toolbox and can take a beating. If you need to work on one now and again here is a project that is simple and will make it easy to work the bearing adjusters without too much fuss.


