Sunbeam Tiger Shackle Upgrade
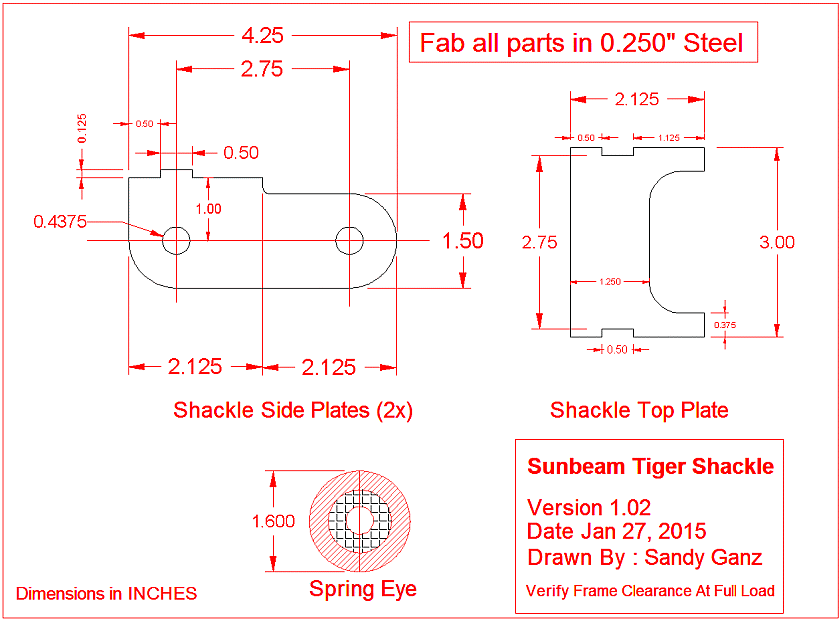
While working on removing the rear end on the Tiger, I noticed the shackles and thought that they did a nice job on them. They have a support brace across the back and other then being too thin looked like a nice part. So why am I going to make a new set? Why not! One thing that I didn't like was the thin metal, it's a minor nit but none the less here is my cut at the Sunbeam Tiger Shackle.
The stock tiger leaf spring shackle use 1.25" wide side plates vs. 1.50" as below. Material thickness seems around .190". Bolt hole spacing remains the same. The Top plate has been extended and I added a small cut out for the center of the frame, but I think that it's not needed or will need to be wider if it does have clearance issues. The outer eyelets on my springs were about 1.6" OD. The springs on my car are NOT STOCK, not sure who replaced them but they are marked 'Triangle Springs, Made in USA' so not sure how this related to stock springs but figured I would mention it.
You will need 2 side plates and one top plate for each side of the car.
Once you have metal cut make a jig and weld them together!
A jig? WTF, well actually just get a length of 7/16" all thread and 8 nuts. Set up inside bolts to 2.75" and bolt both through the shackles. You know use the bolts to space apart each side of the shackle. Measure both ends for 2.75" width and if good, place top on and weld the good weld. The dimensions used are for 1/4" (.25) steel for fabrication. The side edges of the top are cut back 1/8" on each side for ensuring good weld area.
Enjoy and you need the .DXF (Autocad) file as exported from DesignCAD I can send that or any other format it might export.
I sent the project files (.DXF) to the BIG BLUE SAW company and these guys turned them around in 3 days plus shipping. Very good price on water jet cutting, online estimation of costs and way way way cheeper then eMachine shop. First project done with them, but 100% recommend so far!
This process can be used to make custom shackles for any car or truck. Just get one of the FREE CAD programs and draw it up then send it to the BIG BLUE SAW and wait a couple of days for your parts. The top plate is really an optional part, so if omitted you can just make this really simple.
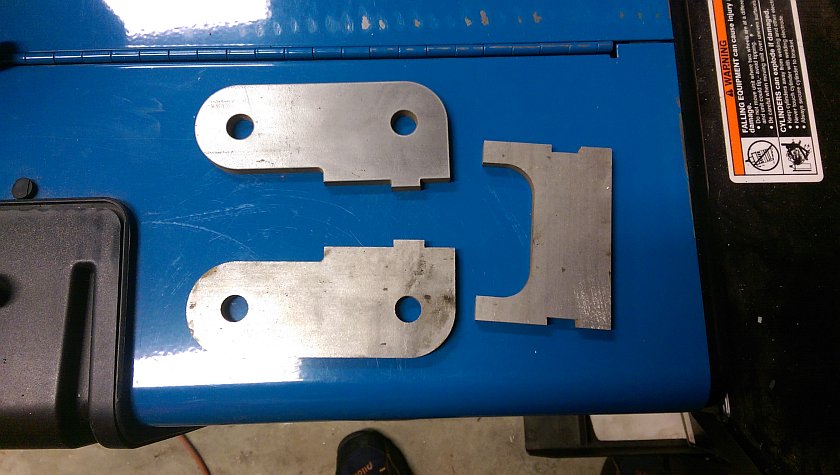
Water Jet Cut Parts
These are the parts from the Big Blue Saw company as cut. The tabs were made to exact size as I figured just a quick file to fit would do the trick.
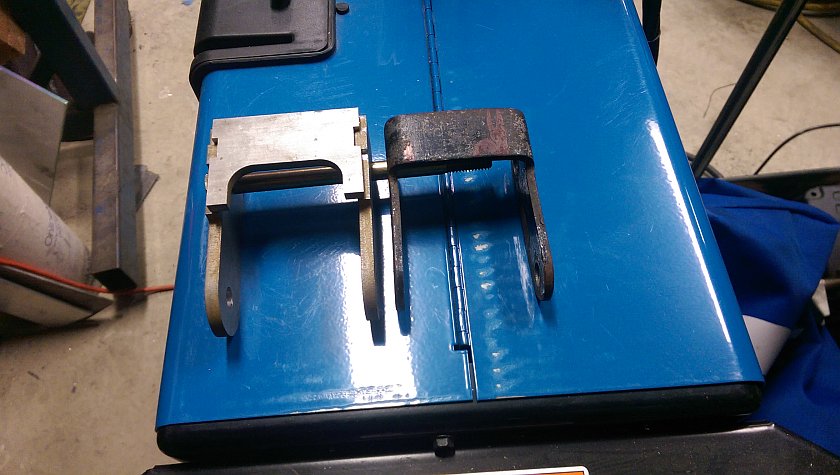
Old Shackle and Real Tiger Shackle
The new one is .25" plate, while the stock Sunbeam is .190" material.
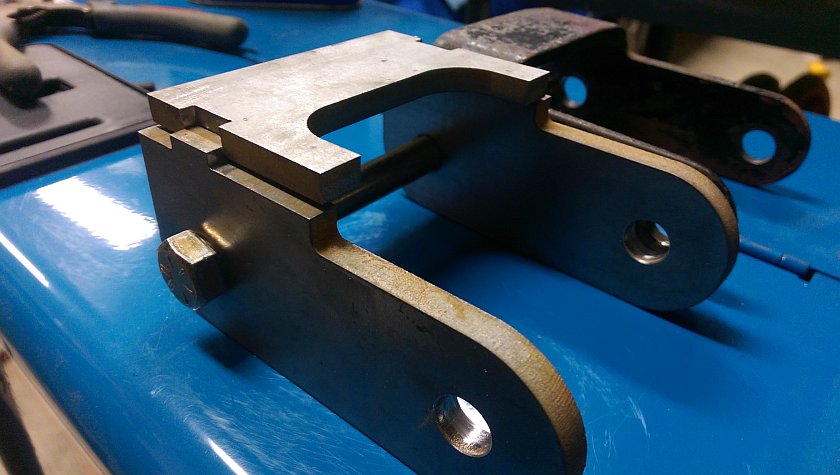
Another view of the shackles
Rear shot of both of the shackles. Stock stamped part is not very dimensional, but good enough for most things.
Shackle Detail View
Just another closer view of the part.
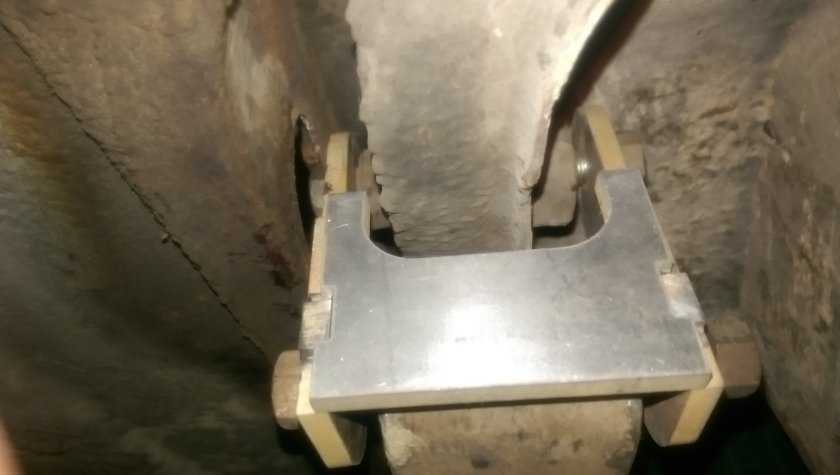
Test Fitment on Tiger
Since I had to put the axle back in for some more measurements I tossed on one of the shackles to see if the frame clearence was OK. Looks good to me...
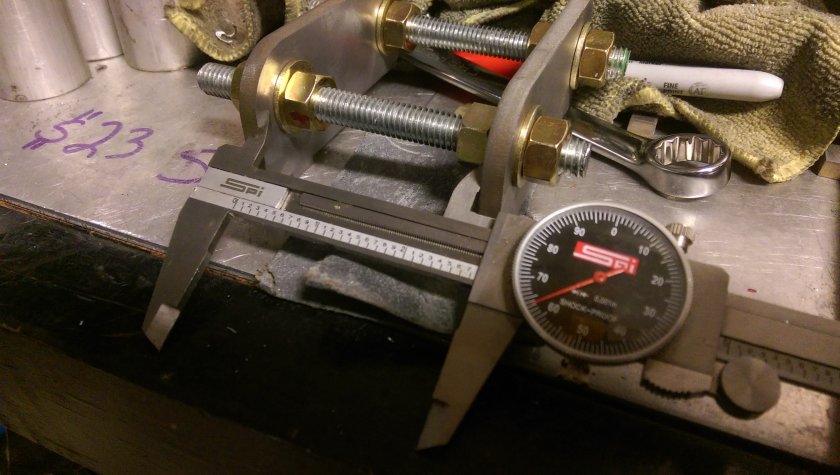
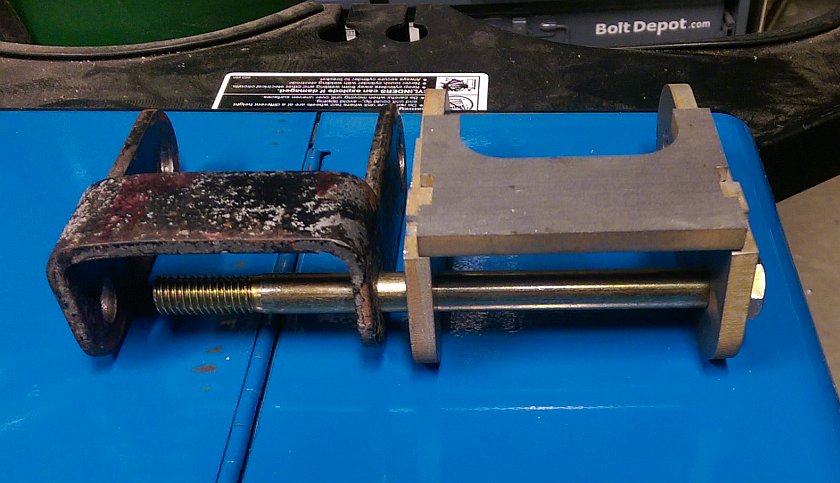
Setup Spacing
Adjusting the bolts to a bit over 2.75" width to allow some fitment of bushings and such. I think I allowed a bit more then what is shown. Just using some All thread rod and bolts with washers.
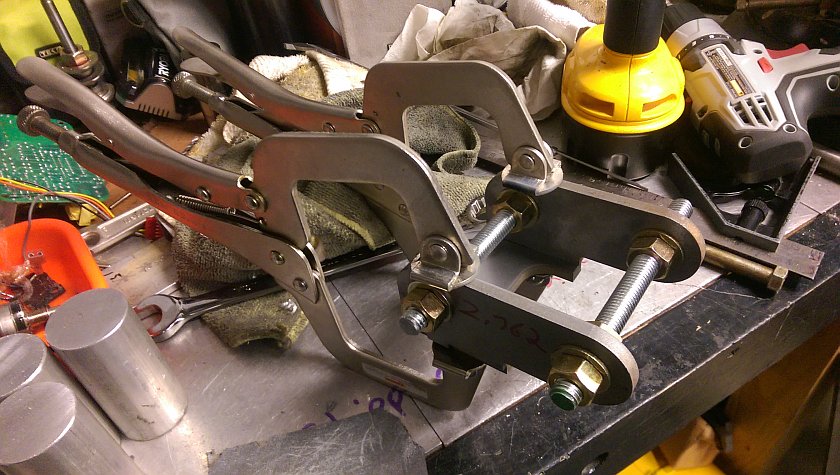
Clamped ready for welding
Using some welding Vice-grips I clamped the top plate down to make sure it stays flat for welding it. Bolts are adjusted to give a 2.76" or so spacing. Both bolts area at that width and double checked with the micrometer. Welding for sure will tweak it a bit, but start as straight and parallel as possible.
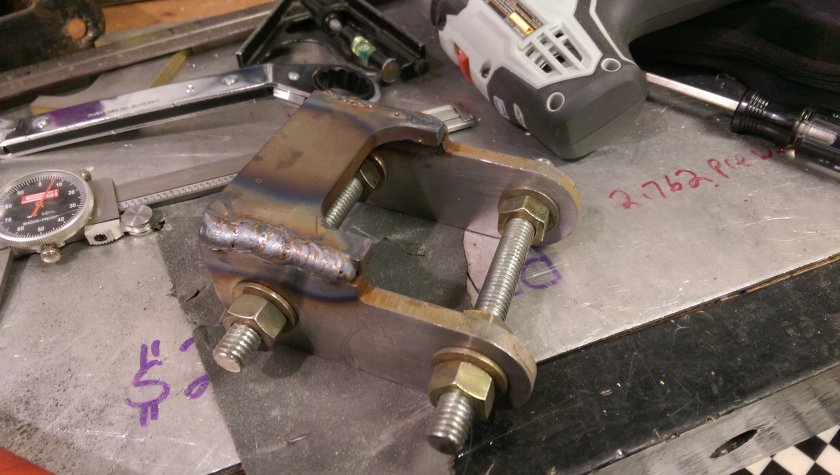
Spazzy the welder hits the Miller Mig
After some testing this is the outcome. The idea was to have enough material laid down that I could do a nice radius on the sander. Other then some of the ugly non-smooth welding, seems OK. Remember that the shackles will function without the welded to plate so while not quite aircraft certified weld, it's plenty good. I hit up the back side too just to be sure. One thing is for sure I need a new Helmet
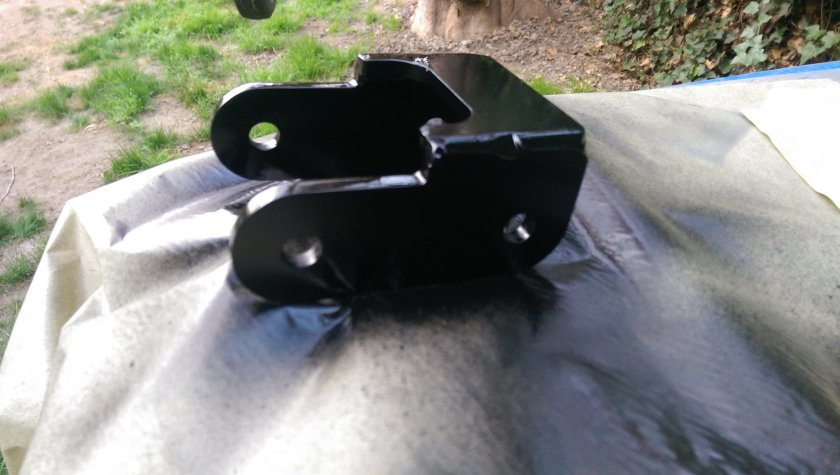
Painted Up
After some primer I shot some Rustoleum gloss black. Too shiny, but I'll coat it with some black texture paint to give it a nice finish.
Conclusion
This just about wraps up this part of the leaf spring suspension, I have 2 more that I am going to weld up and likely drill the bolt holes to 1/2" for my modified suspension. Maybe I'll get better practice with the MIG welder after doing a couple more... One can only hope!


