CNC Master Cylinder Rebuild


The Ripper Mustang uses 2 CNC master cylinder and after sitting for a number of years I figured it might be time to
freshen up a couple of spares that I got from eBay. The model that I have is CNC Brakes 702 with filler cap. These are
nicely made master with a stainless sleeve. The master I picked up were in very nice condition, 2 were unused, and 1
was lightly used. So after inspecting them all I decided to embark on another DIY rebuild project.

The one that I rebuilt was the Model 702F-3/4 with EZ-Fill cover. These masters are available in many different
bores, from 5/8" to 1 1/16" models. If you need to get one of the Model 702 available at a fair price on Amazon as well
as a few other race parts places. It's not as common as the Wilwood or Tilton masters but still a very good choice.

And CNC is not what you think, it stands for Chuck Neil Corp.

Needed Tool and Supplies


Snap Ring Pliers
Small Screwdriver
Brake fluid

Parts Needed (3/4" 702 Master)


CNC 907S Rebuild Kit for 702 3/4" master (Make sure you get the right type and size)

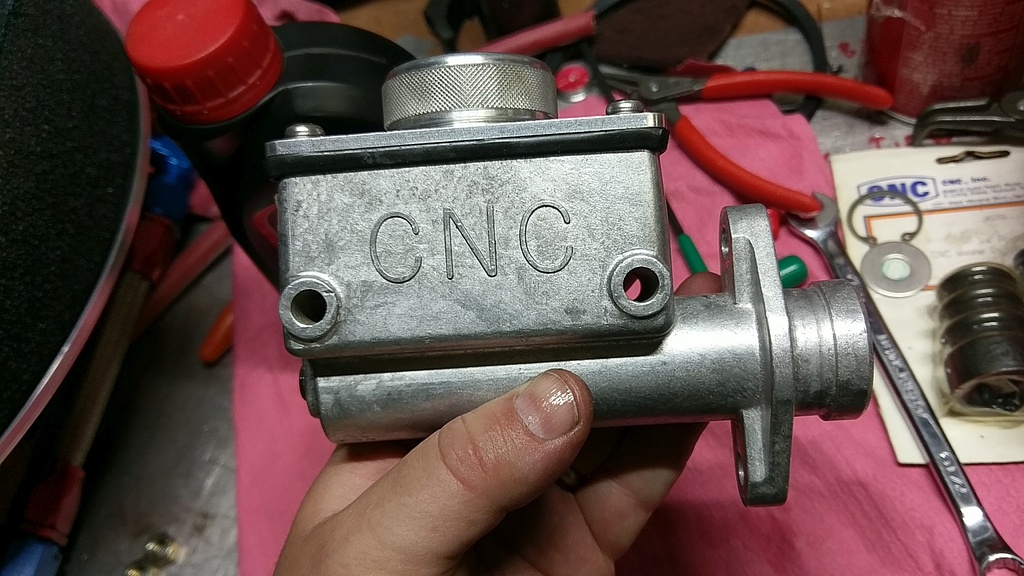
The CNC 702 3/4" Master Cylinder


These are a well made part featuring a stainless steel insert. Not light like the Tilton or Wilwood's but everything is metal and thick. These are used on the Mustang's brake set up. These often find their way on to dune buggies and sand rails. Highly recommend them.
CNC 702 Lid Removed
Piston Snap Ring

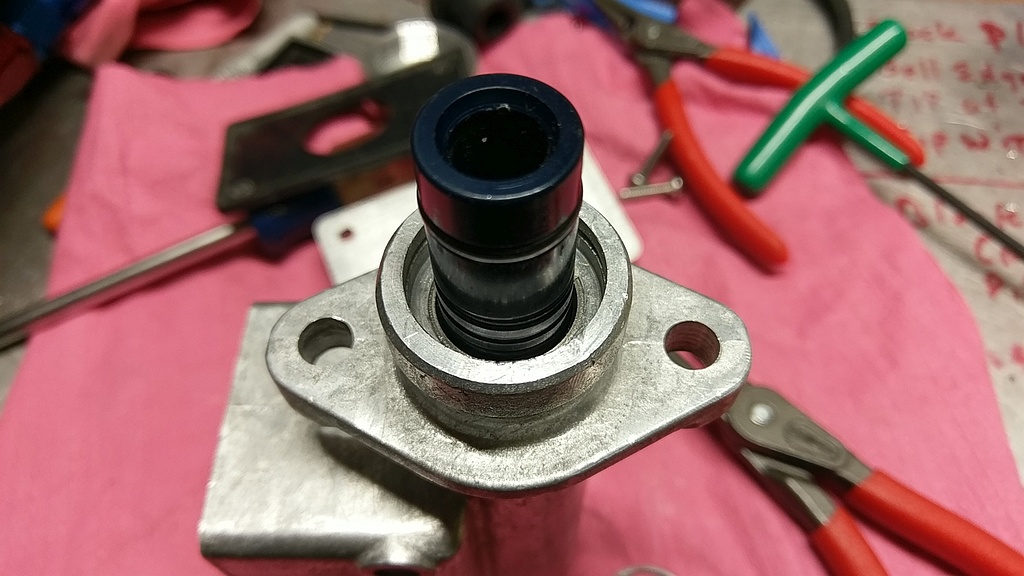
Removing the Master Cylinder Piston


Using the snap ring pliers remove the snap ring. Makes sense... The piston should pop out with the retaining washer.
Removing the Piston
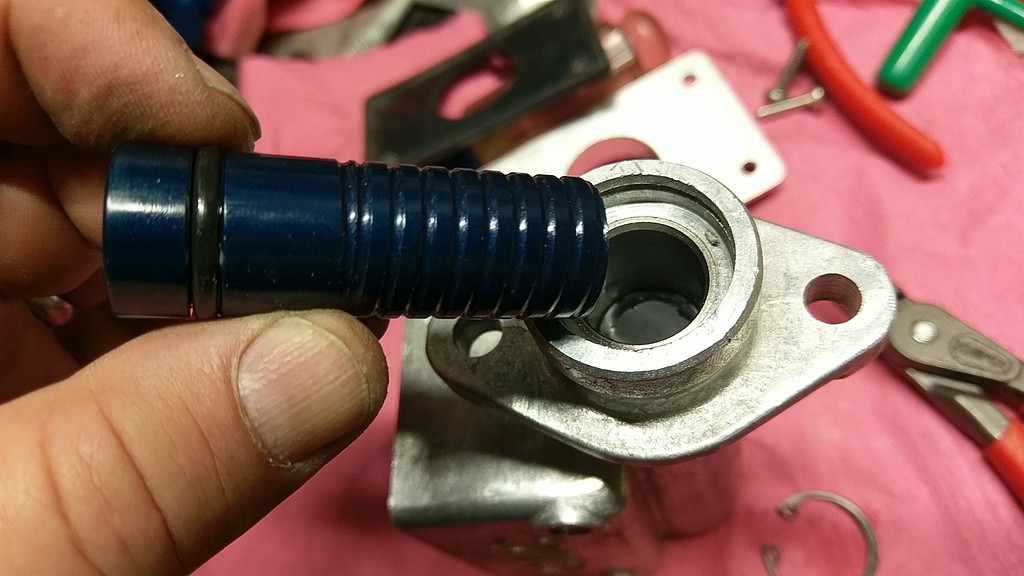
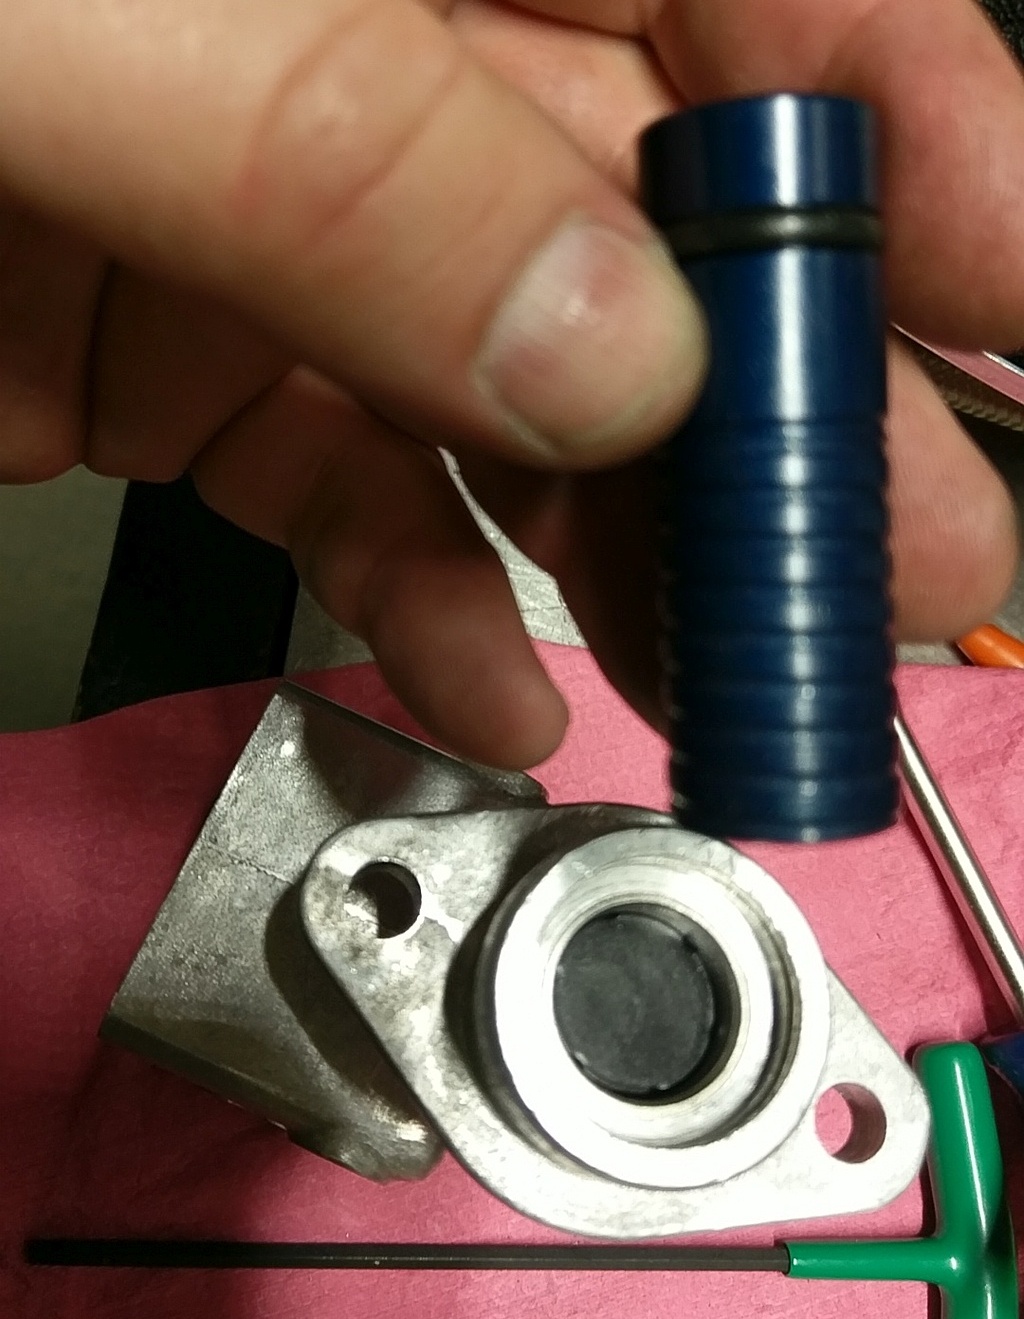
Piston In Hand

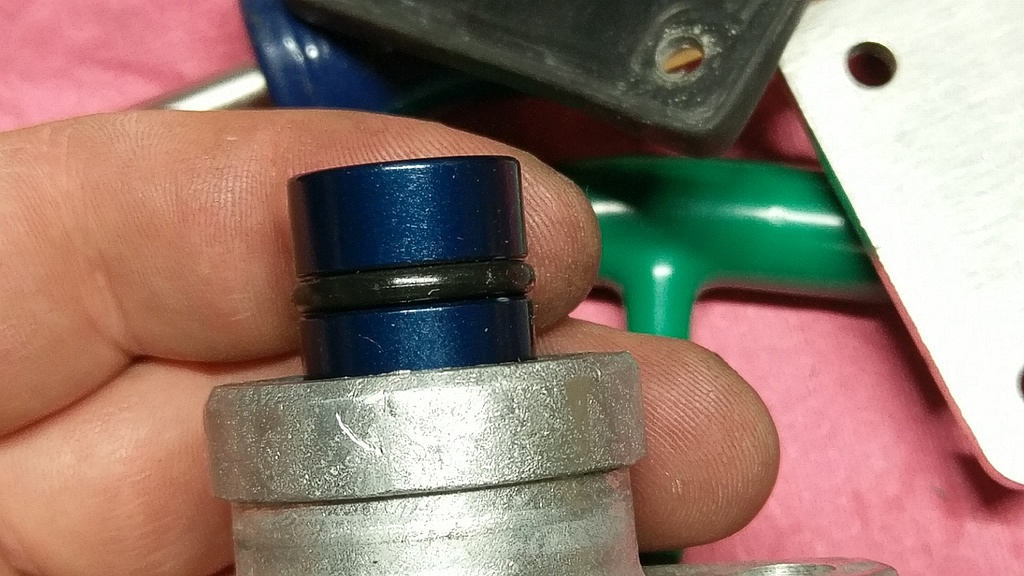
Close Look at the Piston


This looked very good. After looking for any wear marks or dirt I was beginning to thing that the used master that was in the set was only used for testing or something as it does not look like it has seen any service other then a fill of fluid or possibly they used the wrong sized master and swapped it out. In any case looked good and was happy to not see any marks in the stainless bore either. Once the piston is out you likely will have a rubber piece stuck in the bore.
CNC 702 Master Cylinder

CNC-702 Lid Removed


With the lid and rubber gasket removed this is what it looked like. Pretty clean except for a bit of dried up fluid.
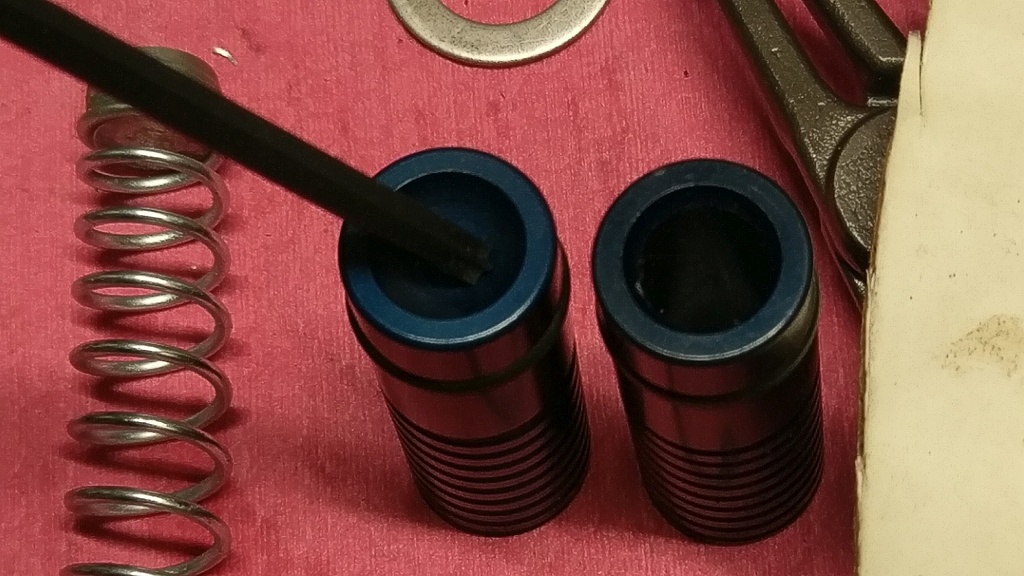
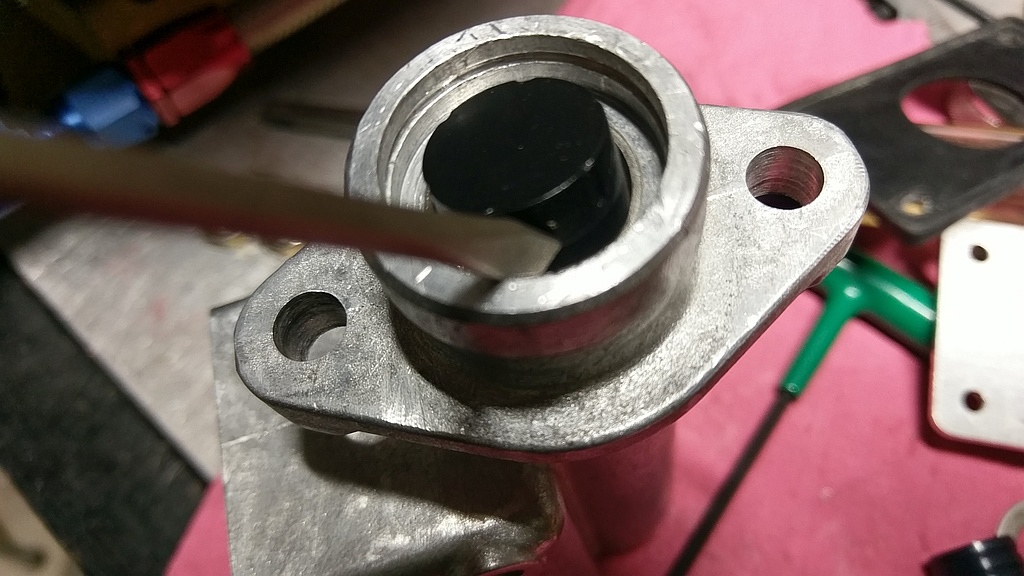
Remove Rubber Cap

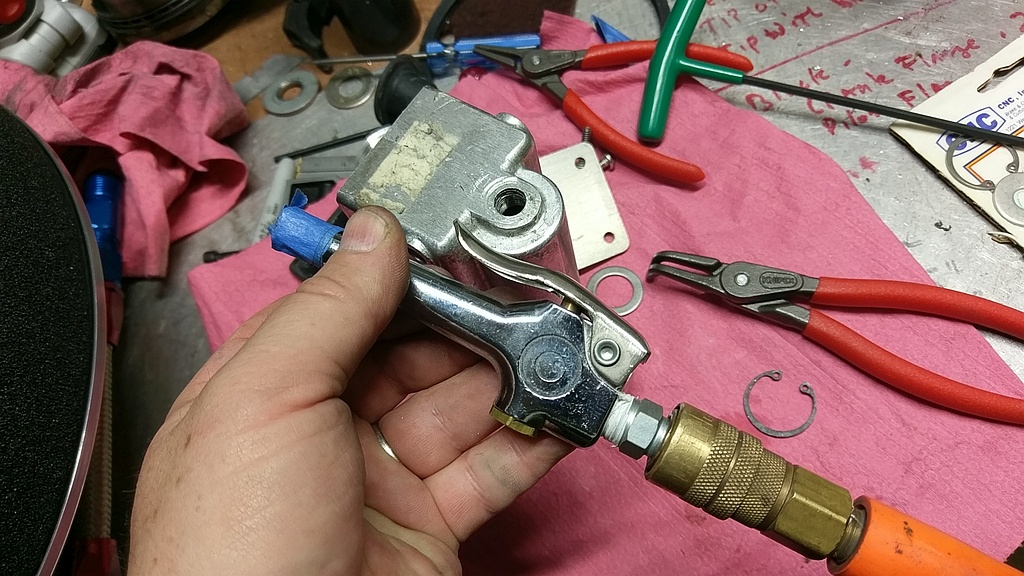
Removing the Rubber Cap


I used a bit of air to blow it out. I think you could use a non-sharp dowel or something thin to get it. Air seemed the best way to go.
Piston Cap

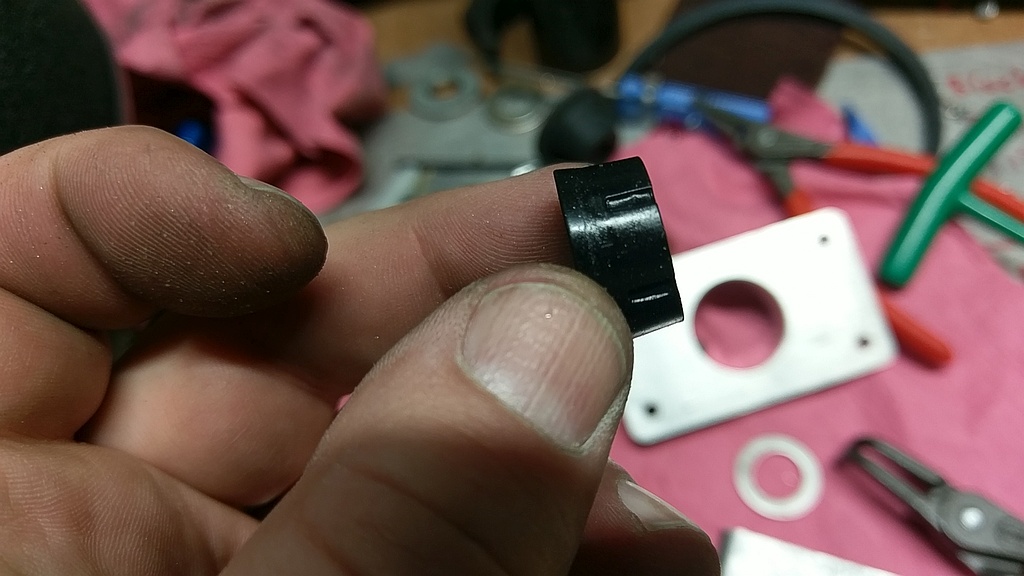
Piston Seal Cap or Whatever...


Not sure what you call this part, but it's on the end of the piston. Don't worry a new one comes with the rebuild kit if you botched it up.

Piston Assembly


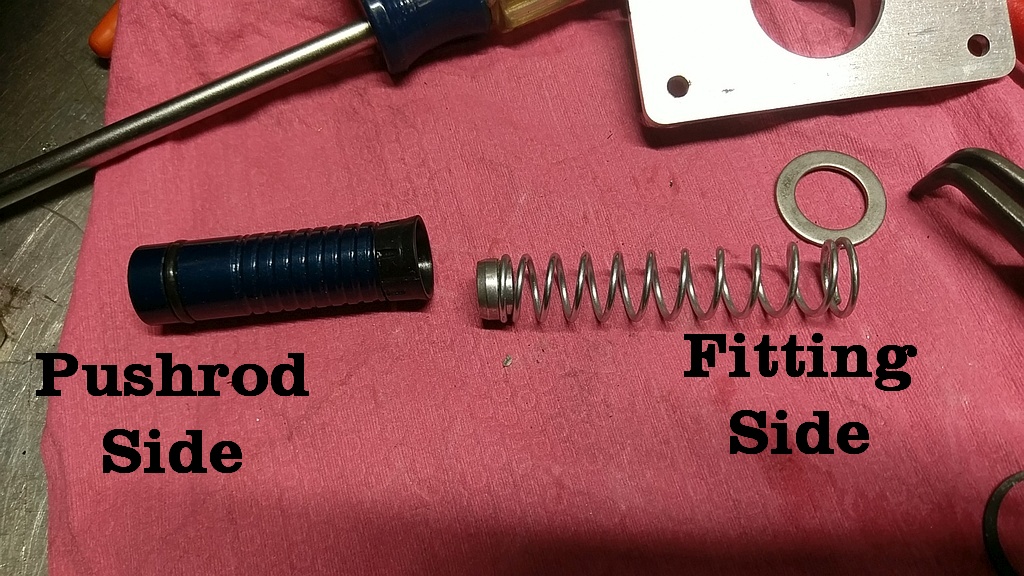
Here is the piston assembly and how it goes together. You can also see the large opening washer that is held in by the snap ring in the upper right.
Piston Assembly
Wrong Rebuild Kit

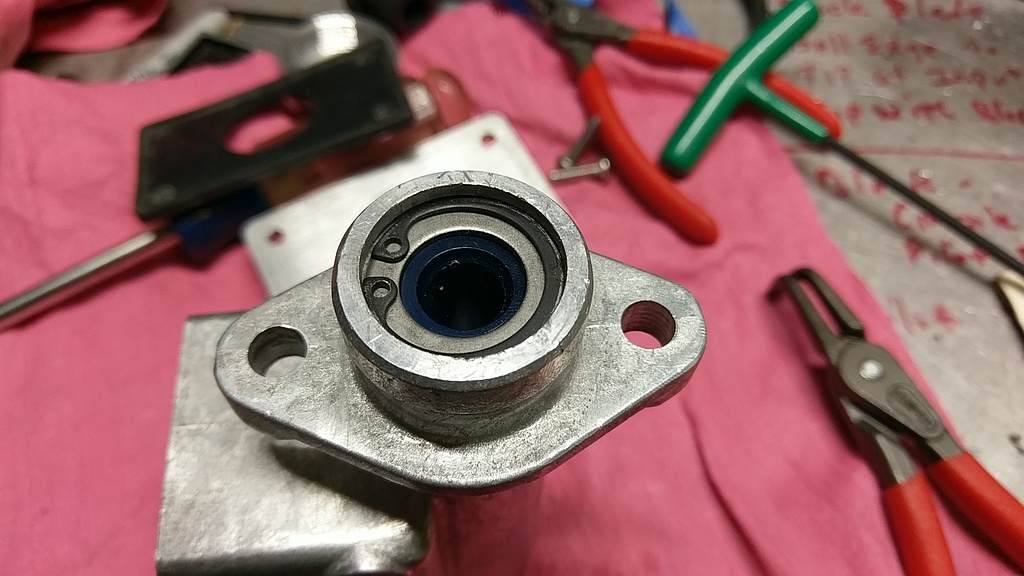
Push Rod Side with Snap Ring


This is the push rod side of the master. You can see that the snap ring that must be removed. It's SPRING LOADED so be careful in case it pops out.

Wrong Rebuild Kit


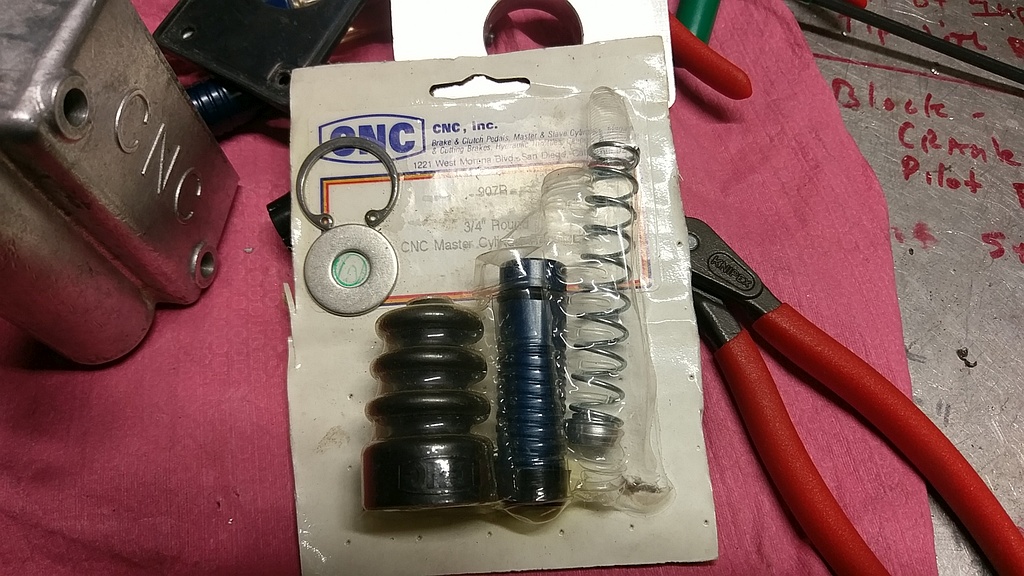
Thinking I had one of these in the tool box, I thought I got lucky. Looked perfect except for one small detail... This was for a slave cylinder and the piston has a different depth center bore then the master cylinder. Oh well. This one was the 907R which is not correct for the master.
Different Piston Types

Subtle Piston Differences


The pistons that came out of the rebuild kit I had (the 907R) was for a slave cylinder. It has a short bore vs. the one that came out of the master cylinder. So while darn close, not going to work. I ended up waiting for the proper kit even that the removed piston was virtually new.
Inspect Master Cylindre Bore
Clean the master cylinder casing
Insert Spring Assembly
Install Rubber Seal Plunger
Install Piston
Slipping in the piston
Install Washer and Snap Ring
All Done With Rebuild!
GTSparkplugs Header
Click for Contact Page Click for Contact Page

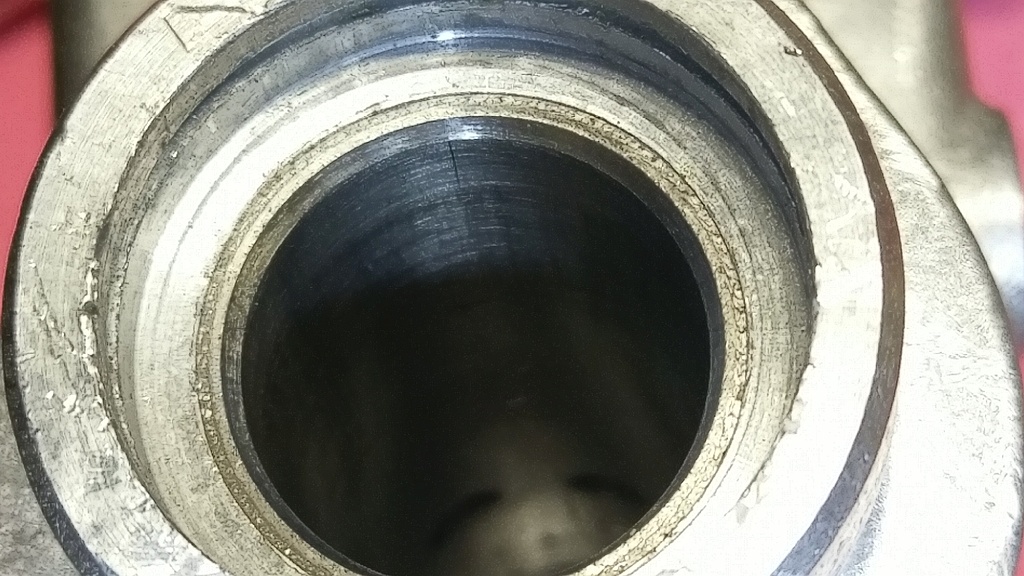
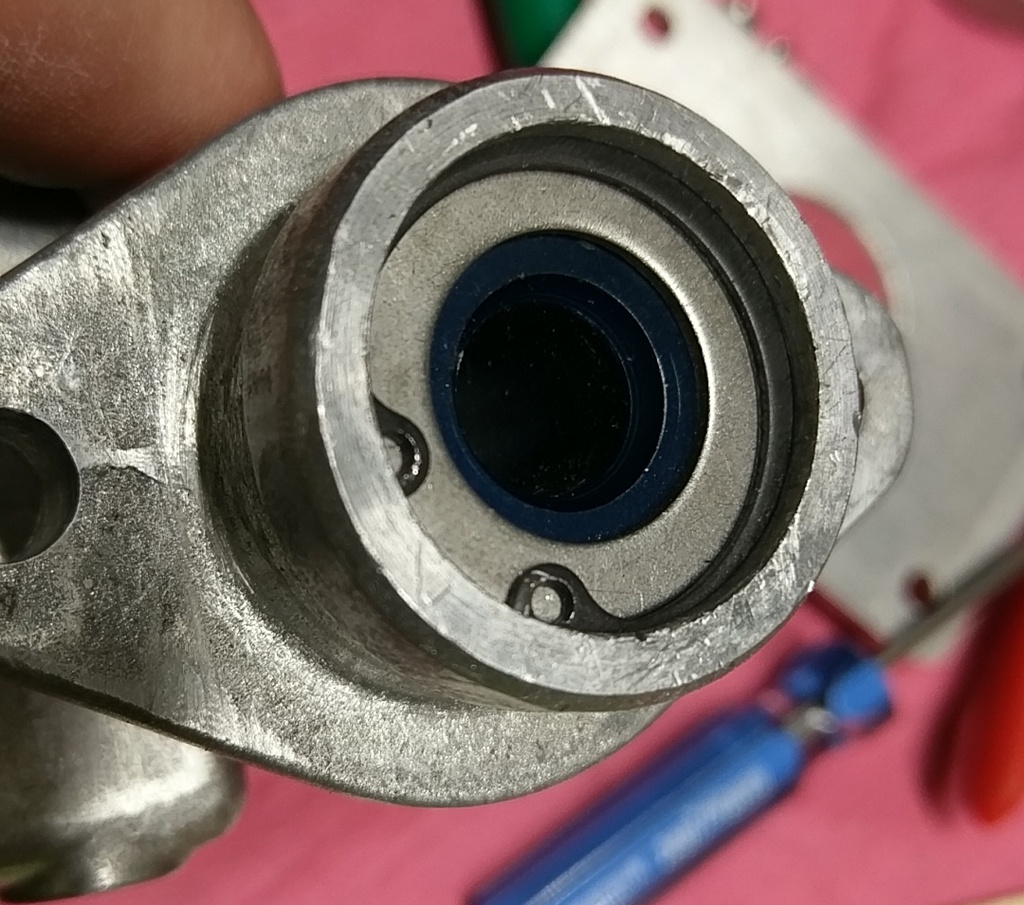
Inspect the Bore

The bore in this master was clean and pretty much unused. If yours has bad scratches it might be worthy of a replacement rather then a rebuild. I guess you could hone it but I'm not sure worth it. Would be a good idea to disassemble things before ordering a rebuild kit as a new master might be the way to go.

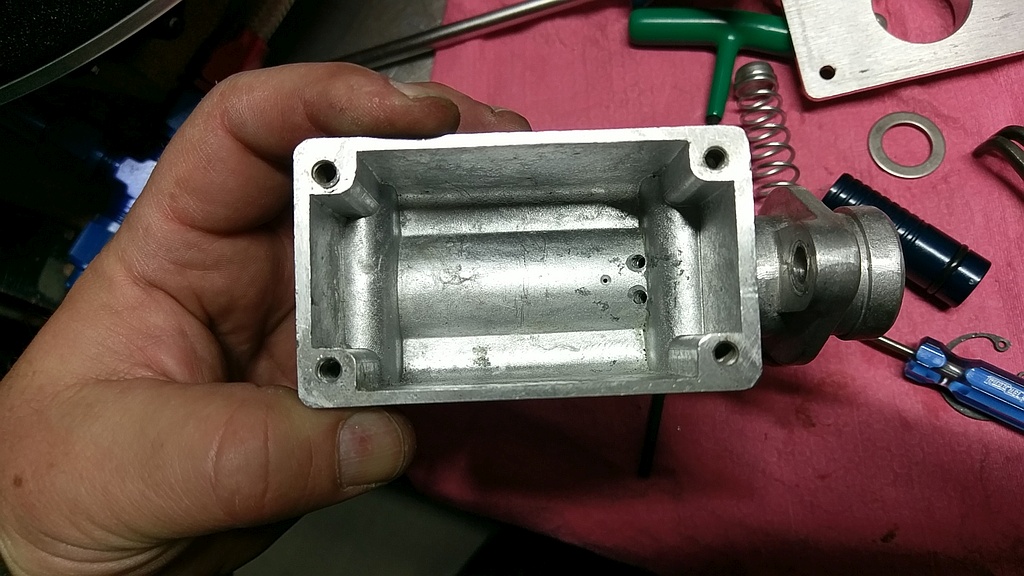
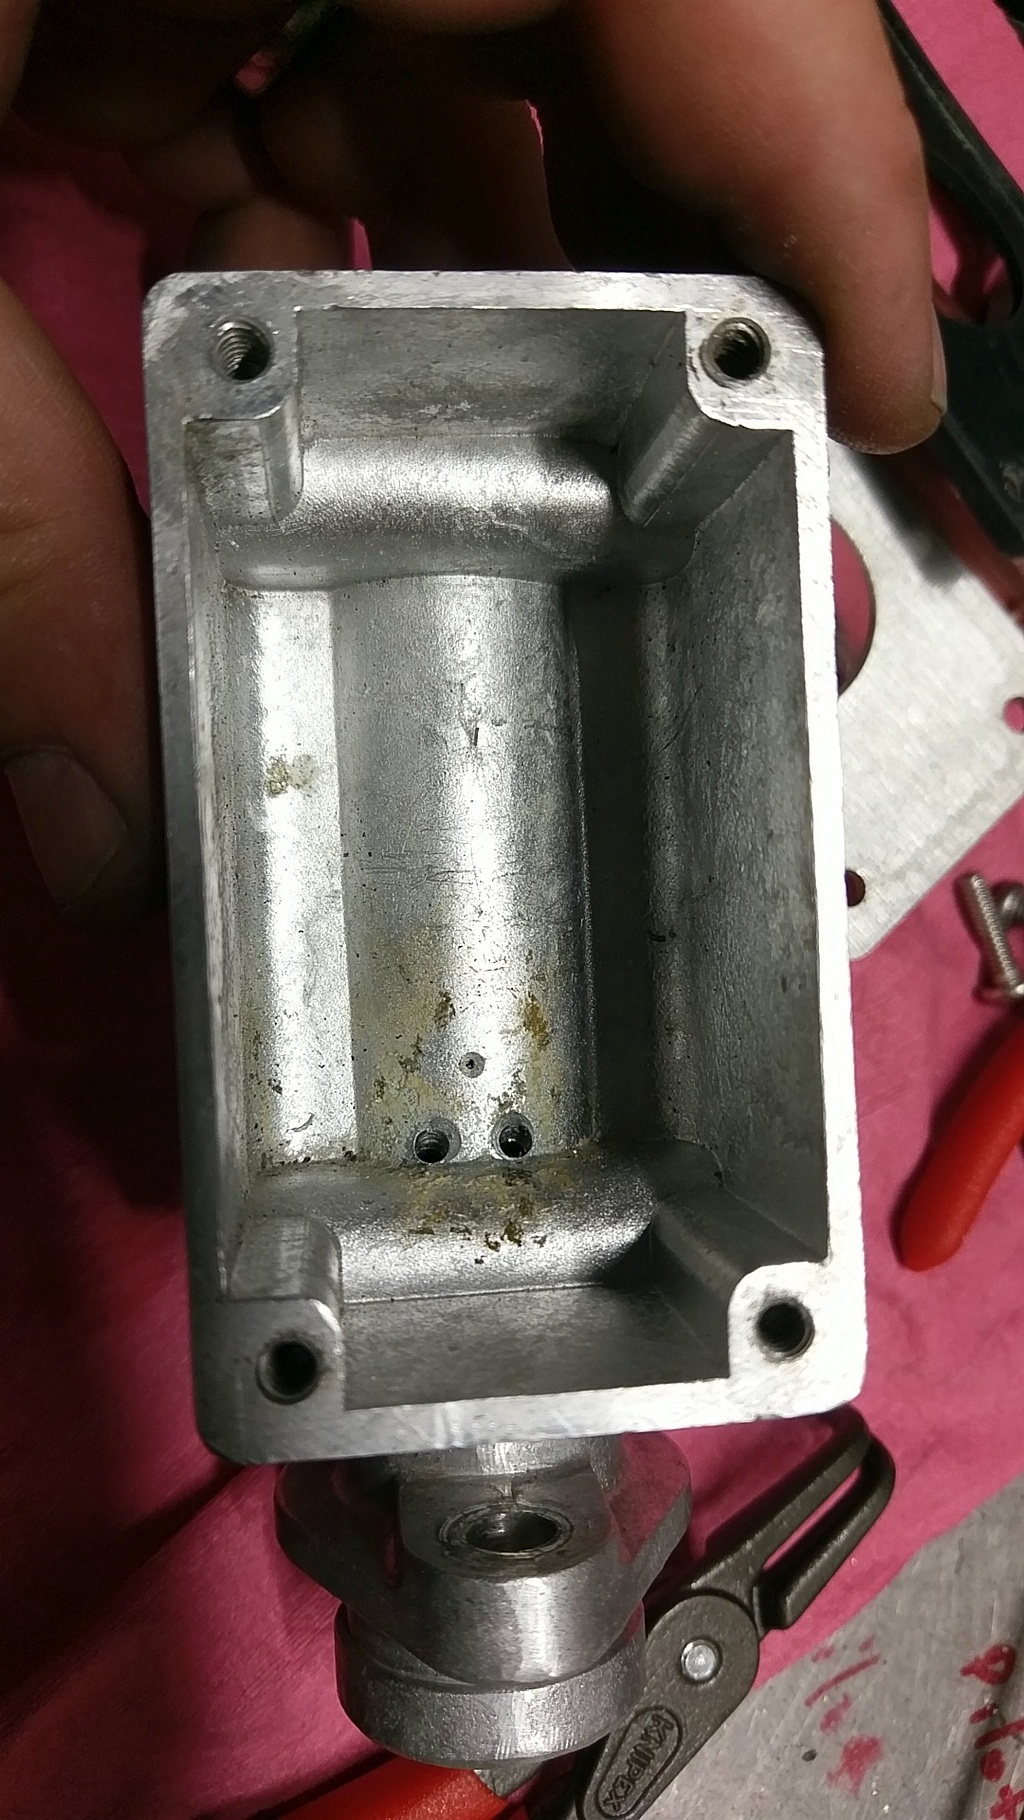
Clean the Master Cylinder Body

After things are apart time to clean the casing or body (What ever you want to call it). I used some brake cleaner and blew out all the holes with air after cleaning. Be wary that the small bleed hole in the picture is clear and clean. The 2 larger holes closer to the edge are easy to clean as well. Air helps blow anything out. Try not to use any rags that may have lint or other left overs.

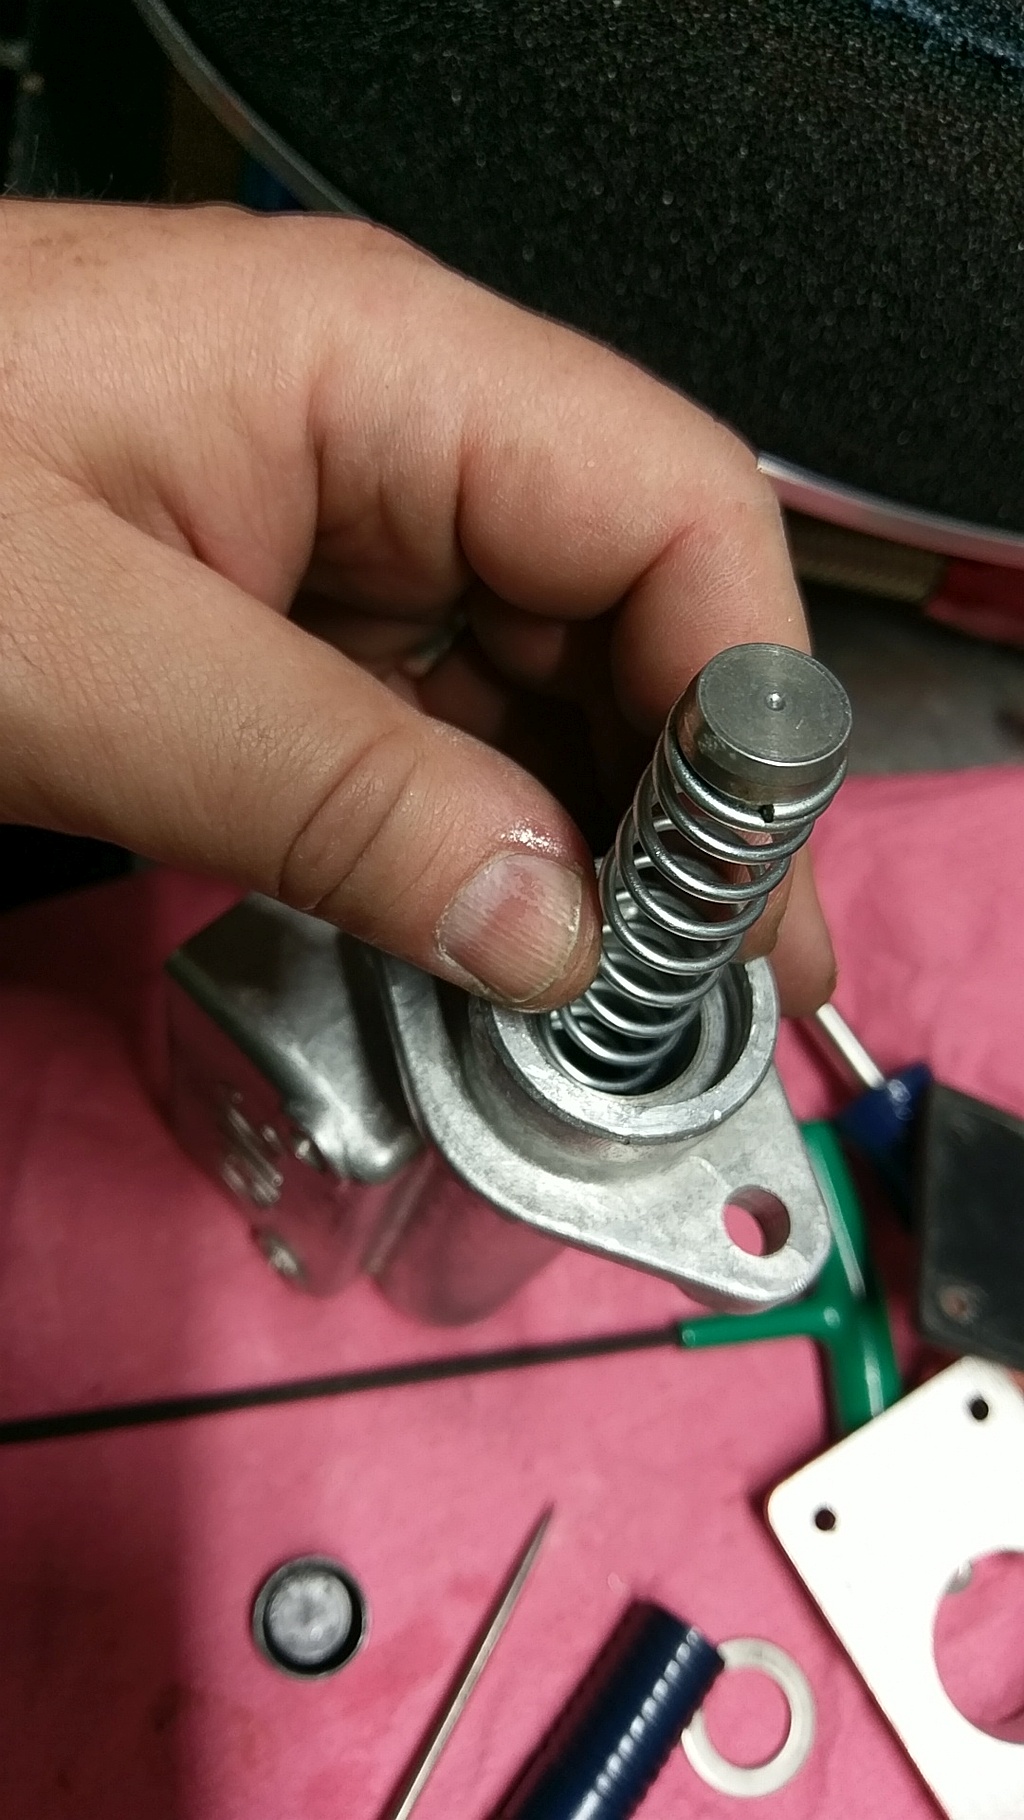
Insert Spring Assembly Into Body

Insert the clean spring assembly into the master cylinder body as shown. More part are coming!

Install the Cap or Plunger or what ever it's called!

Carefully install the rubber cap (plunger??) into the bore. I used a very light coat of PRB Rubber Lube on it just enough to help with fitting it. Since the rubber is larger then the bore you may have to use something to CAREFULLY get it in, again CAREFULLY is the key word. This sits on top of the aluminum end that's inserted into the spring.

Insert the Piston

Insert the piston with the O-Ring facing up. The flat (with no opening) should be facing the flat of the rubber seal. Again a very light coat of PRB rubber grease was used on the O-Ring to help slip things in.

Slipping In the Piston

Ok, should not be too hard. Again a touch of PRB Brake Grease on it (I guess you could use a dab of brake fluid too). Piston should be oriented so the O-Ring is up or you are screwing up the install.

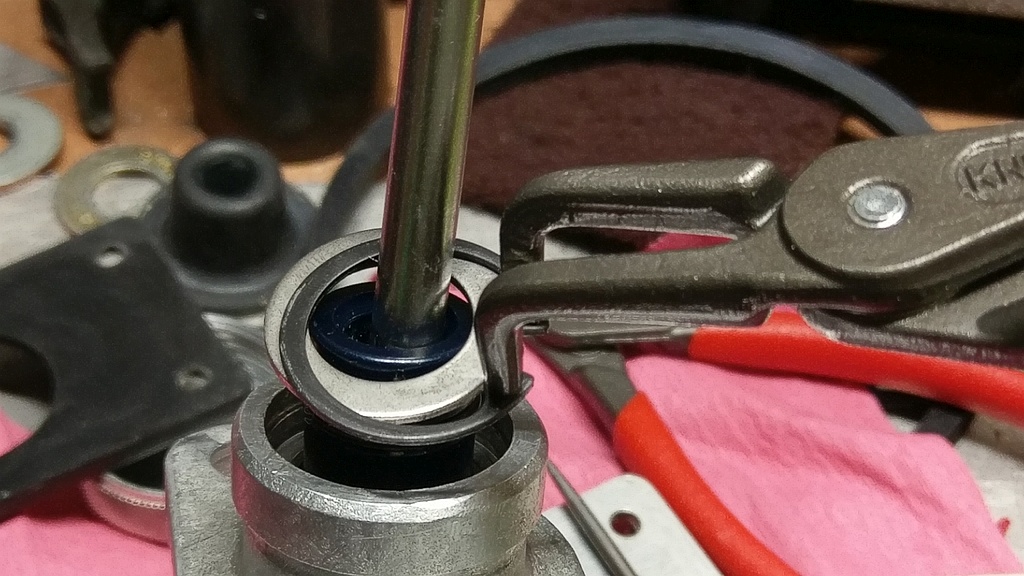
Install Snap Ring and Retainer

On the home stretch now. Just need to install the retaining washer and the snap ring to lock the assembly in. I used a large phillips head screwdriver with some paper towel stuffed into the bore of the piston to keep it from marring up (Don't forget to remove it!!!). You could also use the brake push rod if needed. Main thing is that you will need to compress the piston into the body enough to allow you to drop in the retaining washer and get the snap ring into it's groove. Using some nice angled Knipex pliers were helpful.

And Done!

After the snap ring is released into the groove you are about done. While CNC mentions not to bench blead the master it still may be a good thing to do, not sure why they don't want you to.

As with any project involving brakes it's a good idea to test things before going out for a run. So when replacing the master you should follow common procedures to blead and test your brakes, if you don't you may die!

Conclusion

This is a pretty easy project. If you master is in good shape upon disassembly order the rebuild kit and have at it. Double check part numbers and piston size before clicking the order button just to be sure you are getting what you need. Otherwise common sense, cleaning, and easy assembly are all part of this DIY rebuild project.

Happy and SAFE Motoring!