Remove Door Panel - Page 1


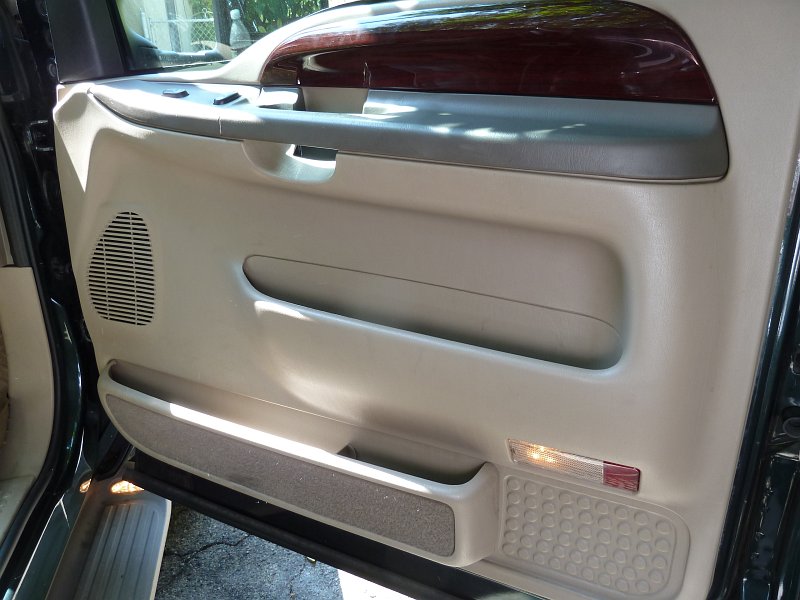
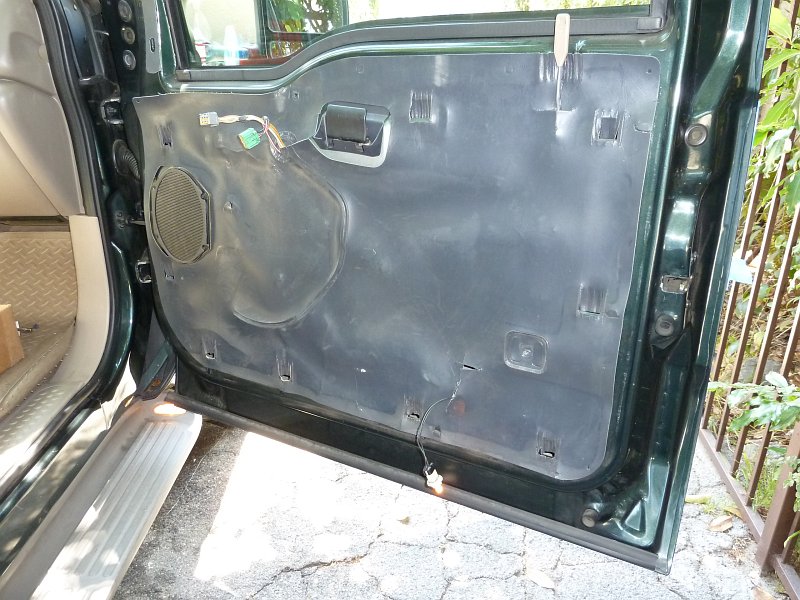
The first step (after gathering your tools and parts) is to remove the door panel from the truck. I'm replacing the power door lock actuator on the front passenger side of the truck. Other doors should be similar, although you need to make sure you have the correct part for left and right side of the vehicle.
Ford Power Door Lock Actuator
Super Duty Door Panel
Courtesy Lamp
GTSparkplugs Header
Click for Contact Page Click for Contact Page
Door Panel Screw - Courtesy Light
Lift UP on Door Panel
Use Blue Tape to Hold Back Water Shield

The Excursion Door Panel


The door panel is held on by 2 sheet metal screws. One is behind the Power Window/Lock switch panel and the other is behind the courtesy light on the door.

Courtesy  Lamp


One of the 2 screws that hold on the door panel on is behind the Courtesy lamp lens. You simply pop it off with a small screwdriver. It exposes a 7mm screw (well nut really). Remove the fastener.

Power Window and Lock Control Panel


This one looks daunting but it's actually really easy. Use your small screwdrive to lift up the FORWARD edge of the panel. Lift it enough so you can pull it up as show. Note the BACK of the panel has a tab that holds it in, do not lift from the back.

Once you get the panel loose you will need to remove both connectors from the window and power lock switches (or what ever you have). These are a bit difficult to get loose, you need to squeeze the tab on the side of the connector and wiggle it out. It may take some force. Just make sure you really squeeze the release tab hard!

Remove Both Door Panel Fasteners


Again, if you have not removed the one from the courtesy lamp do that and remove the one that holds the top of the arm rest to the door. Both will use a 7mm socket or driver. The panel will not fall it's still held in by a bunch of plastic fingers on the back side of the door panel.

Remove Door Panel


With the 2 fasteners out of the door panel you need to lift UP pushing from the bottom of the arm rest to lift the panel UP (NOT OUT). You may have to give it a hand bump to free it up, but is should slide up. Once it's up DO NOT PULL IT AWAY QUICKLY. You need to  remove the courtesy lamp from the back of the panel. Luckily the wire is pretty long and you can get your hand behind and twist the bulb assembly out counter clockwise. Once that is release from the door panel you can move the panel out of the way. Mission acomplished in removing the door panel without busting it up!

Door Panel Removed


This is what you should see. It seems my door panel had been removed before as the water shield was a bit tattered and torn.

Blue Tape Prep


Pull back the water shield about half way and tape it back. You don't need to remove it and it won't pick up a bunch of dirt as it's all full of adhesive. Next is to tape off the area around the door lock. When you start messing with the door handle assembly it's going to flop on the outside of your door scratching your paint. More blue tape here.
Prev
Next
You can Navigate to any of the pages in this project by the BELOW drop down menu or use the NEXT or PREV links
Courtesy Lamp Cover Removed
Window and Lock Control Panel
Door Panel Screw - Under Power Panel
Lift UP on Door Panel
Use Blue Tape to Keep From Scratching Paint
Mirror Access Cover

Mirror Access Cover


The mirror access cover is held on by 2 strong spring clips. You will just need to grab this part and pull it away from the door. It will pop if you pull it hard.
Mirror Access Cover